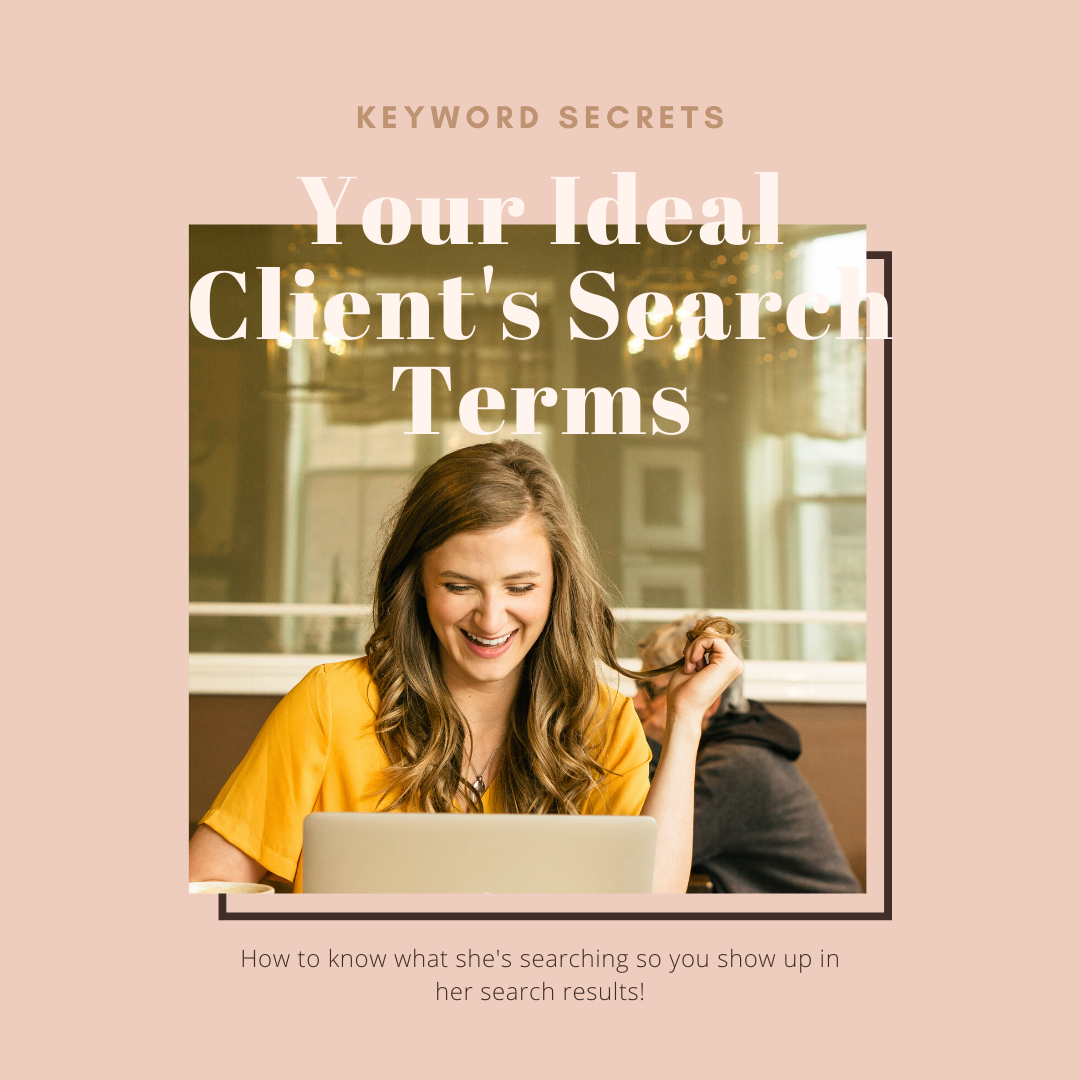
7 Engaging Ways to Use Instagram Galleries

I LOVE Instagram galleries—and for good reason!
This built-in feature of Instagram helps encourage longer engagement with a creator’s posts; and since the Instagram algorithm favors longer engagement (see this algorithm post for more info), my motivation to figure out the best ways to use galleries has never been higher.
Over the last few weeks, I’ve actually been trying to make every post in my main feed a gallery post. I’ve made a distinct effort to “mix it up,” too, and use the gallery feature a different way each time, so that my followers wouldn’t get bored of seeing them and stop swiping through.
The results of this experiment? Visits to my profile tripled! Also, I saw a 250% increase on visitors saving my posts (more on that below). And the best part, after months of Pinterest being the #2 social driver of traffic to my website, Instagram beat Pinterest to be neck-and-neck with my Facebook traffic (literally just 7 visits to my site less than Facebook—wow!).
So how did all this happen? I’m so excited to share with you below all the steps I took to jazz up my Instagram presence with hyper-engaging galleries—as well as some ideas I’ve seen from other influencers that I just can’t wait to try. Let’s dive in!
STRATEGY #1 - SHARE THE VAST RANGE OF WORK YOU CAN DO.
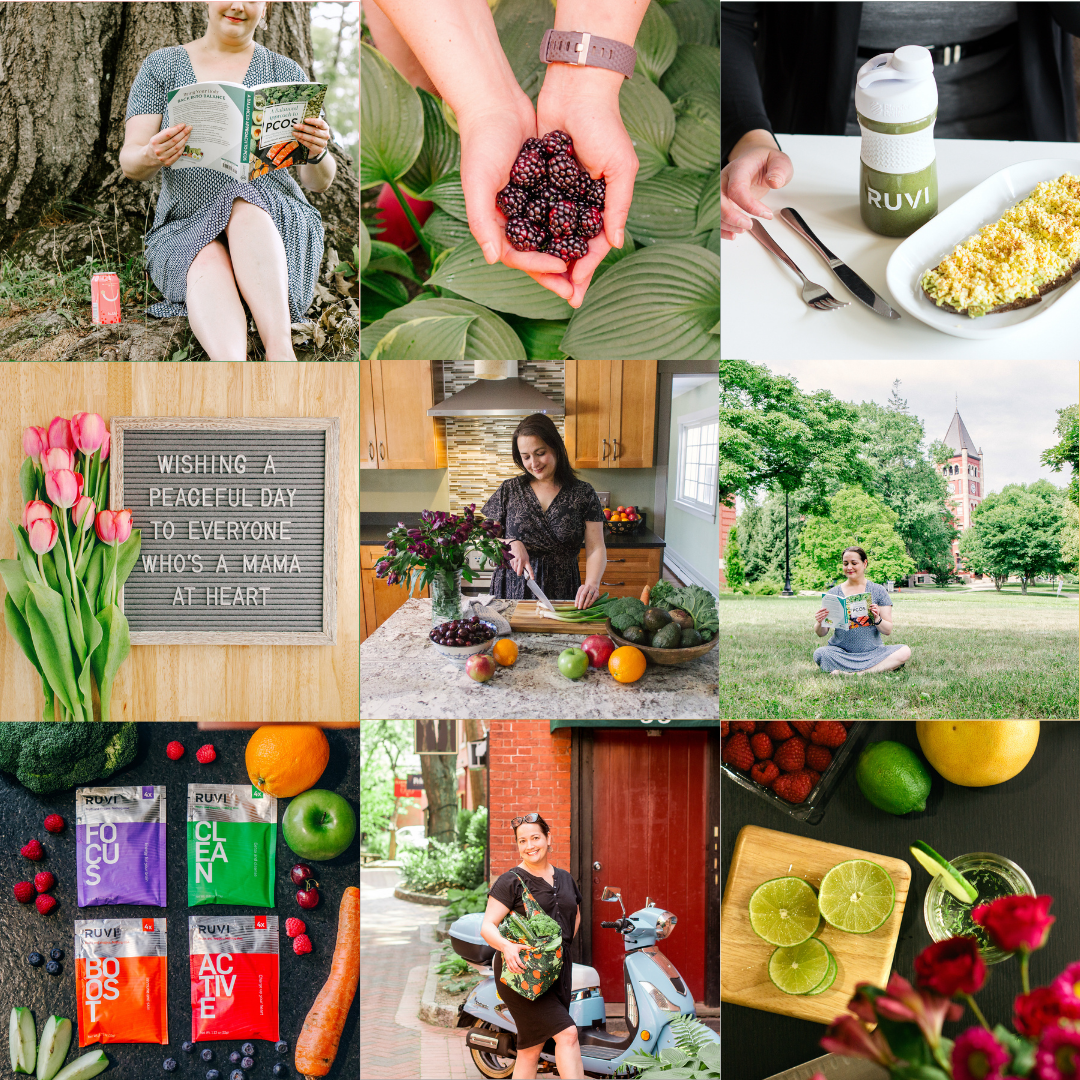
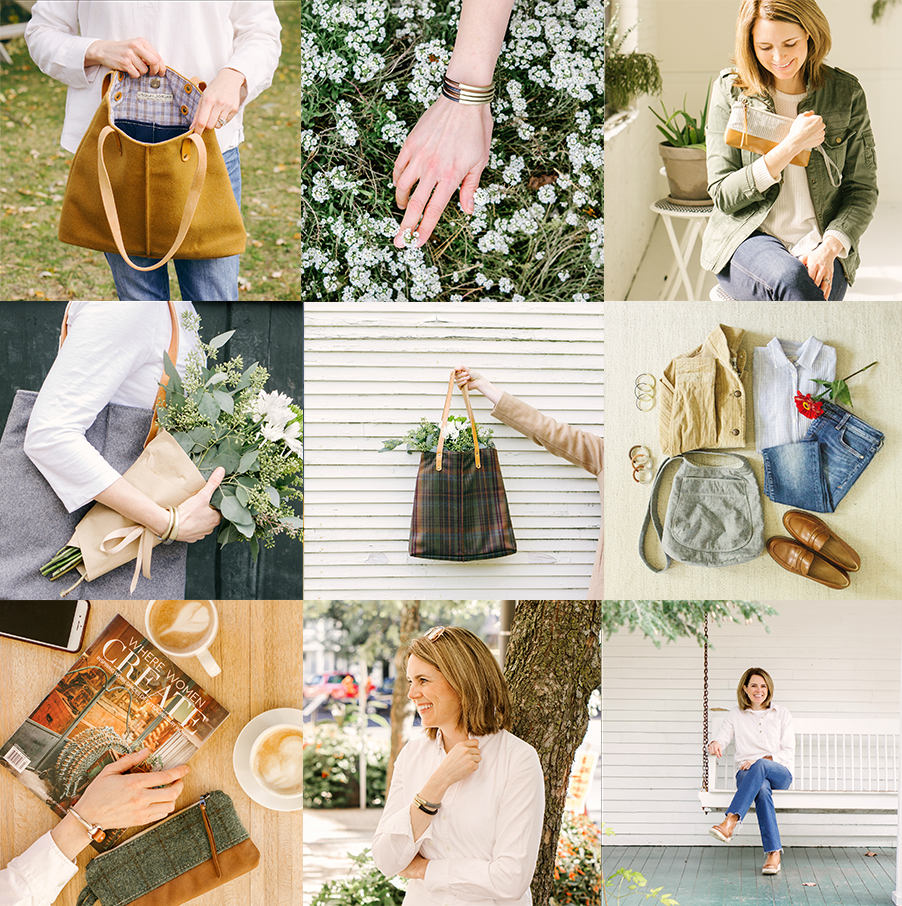


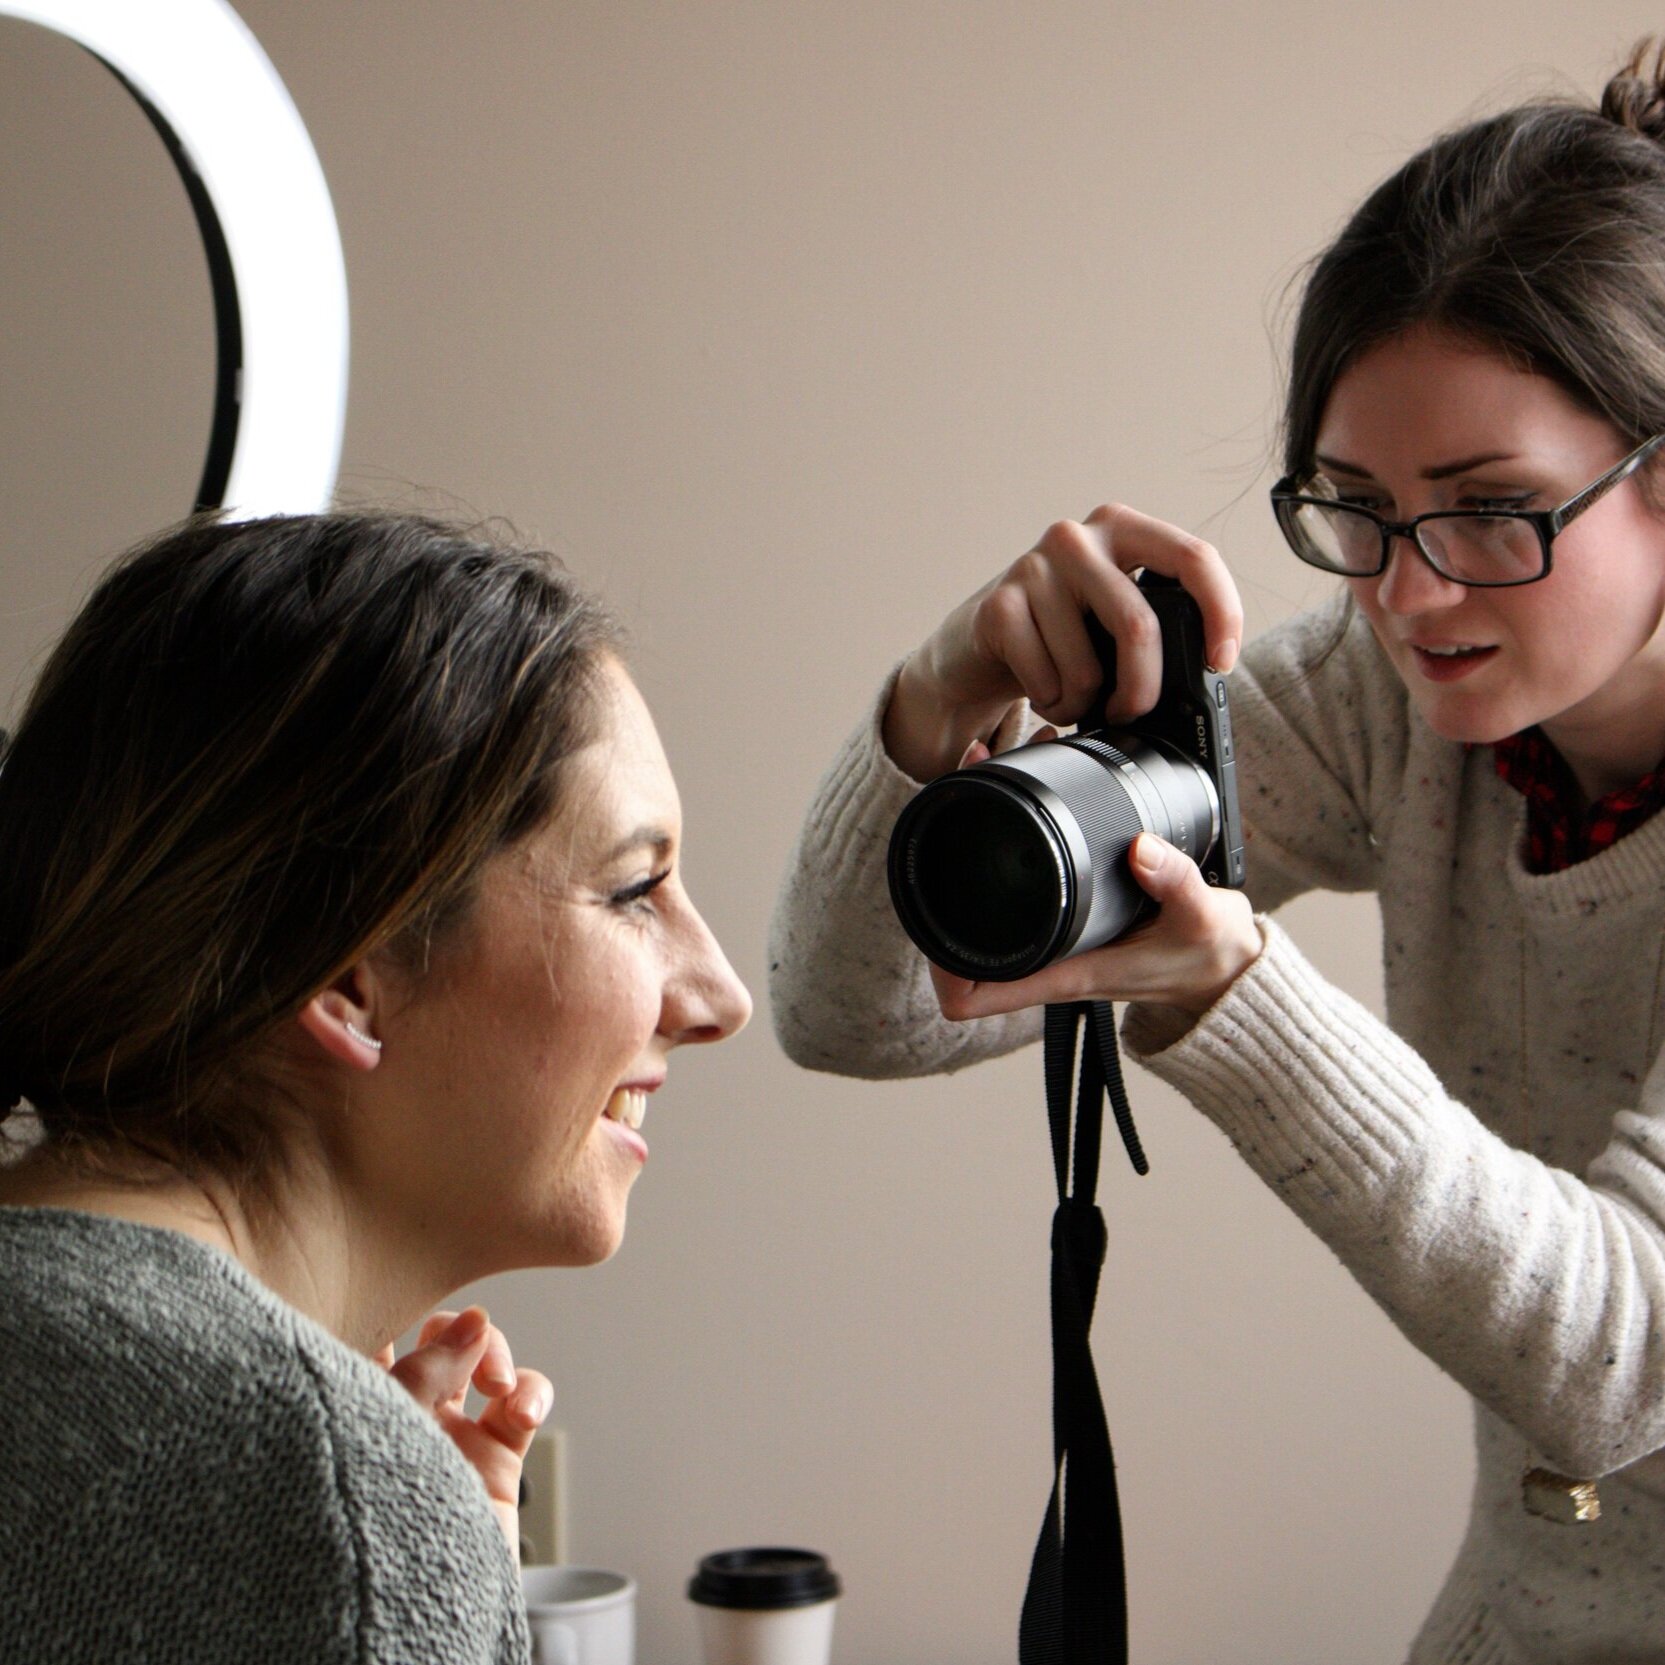
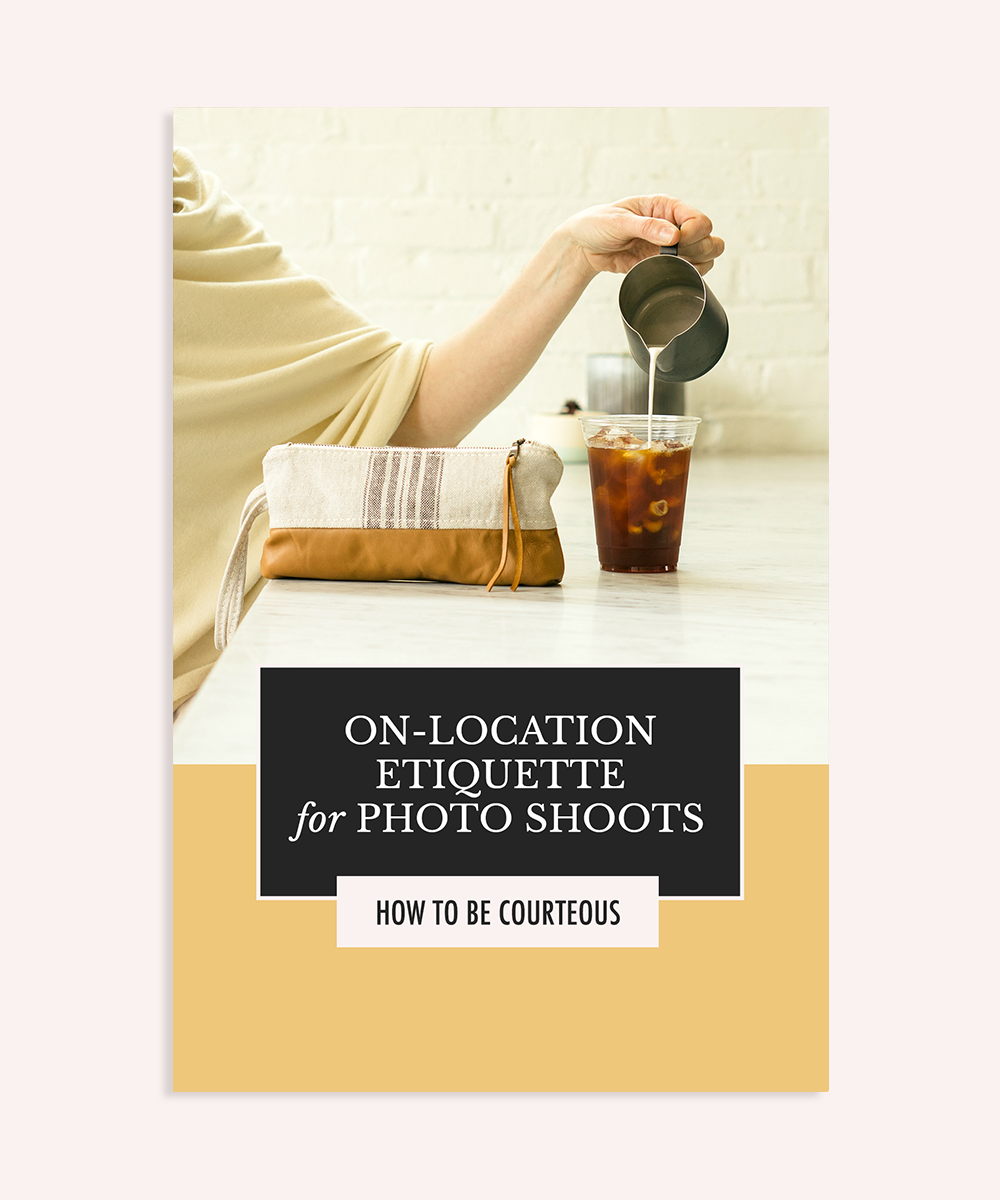
I used this strategy to share with my following how personalized each ATG social photography subscription can be.
One of the most frequently-asked questions I get about this ATG service is, “Will my photos be branded to my business?” While it’s easy for me to say yes, it’s more helpful for my audience to see for themselves how unique each client’s photos come out when compared to other brands using the same service.
This same range/variety approach to galleries is often used by brands other than mine to share new products, such as a fall line of accessories or clothes, Lightroom presets, or items with a theme like “vegan” or “sustainable.”
I could see it be used as well to show off artistic flare, such as a series of custom cakes, commissioned murals, or interior design projects. In whatever you do, if you can provide variety and capture that in a photo, this strategy for Instagram galleries could work for you!
BONUS STEP: When I used this strategy, I made sure to conclude with a Call to Action (or CTA) with my last image. Because I was trying to get new people to inquire about my service, I created a GIF that pointed to the “save” feature on Instagram, and added the message, “Need to think about it? Or ask your boss? Save this post to come back to later!”
See the post here.
STRATEGY #2: CREATE A COMPARE / CONTRAST SERIES.

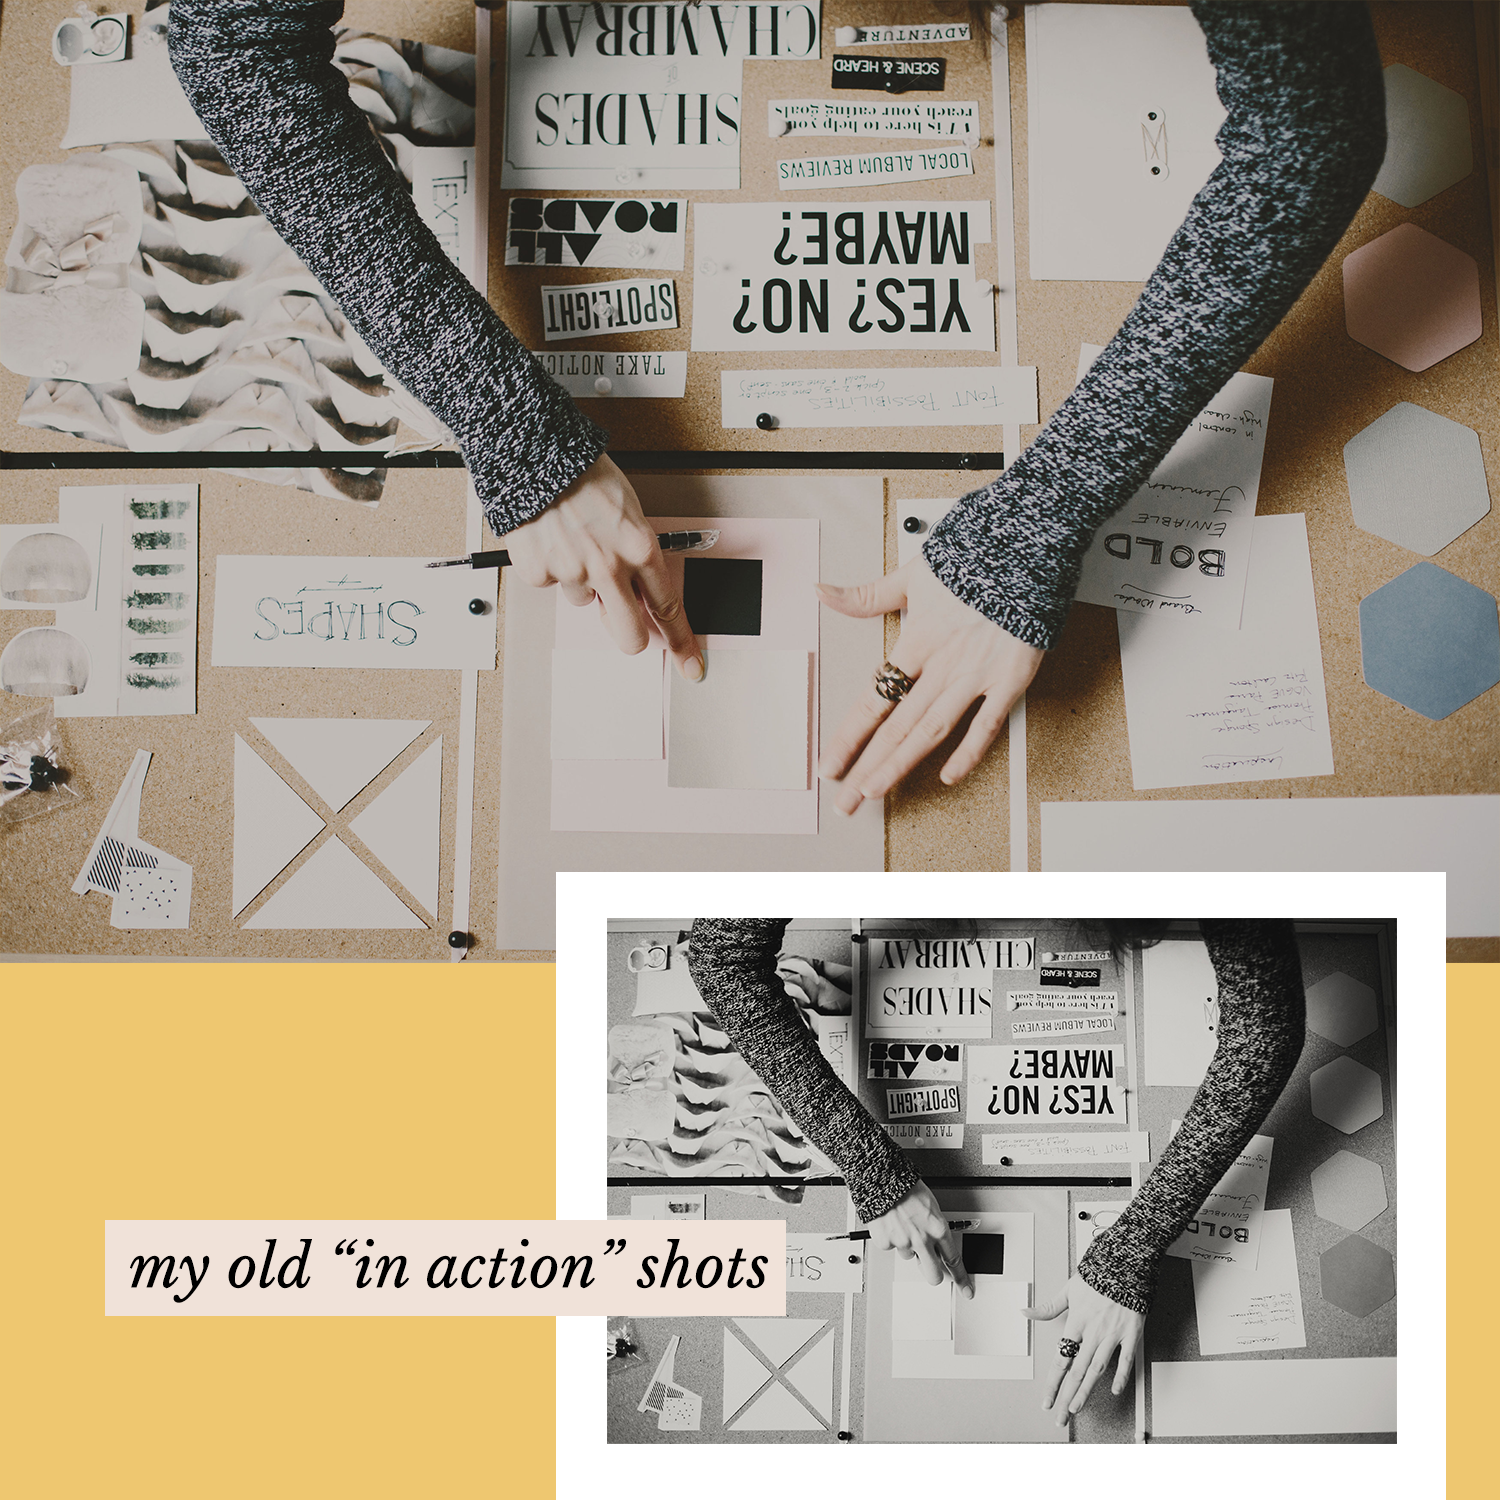

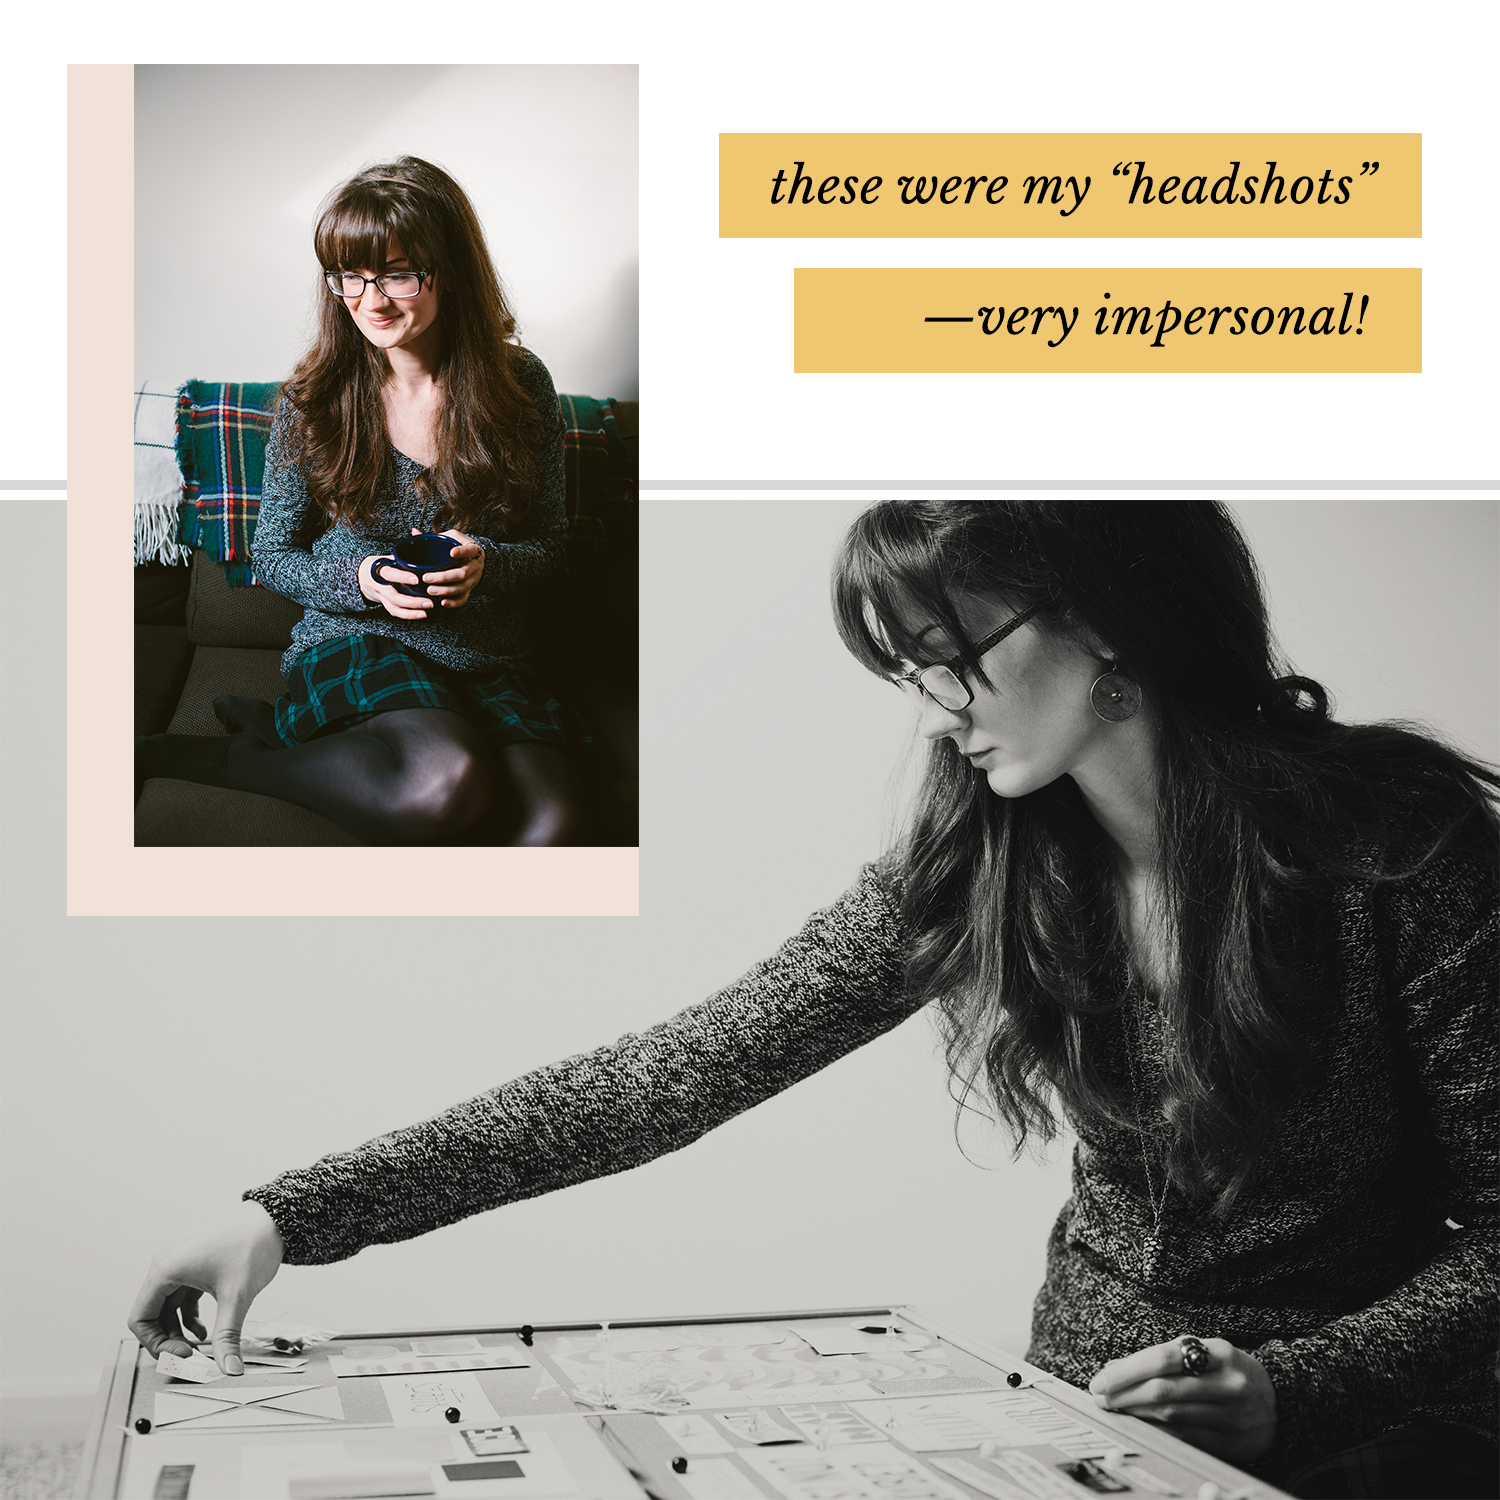

I used this strategy to show my audience, “Hey, I’ve been doing this for a while. I’m no new kid on the block.” I figured simply stating, “I’ve been doing this for a long time,” is sort of boring, so I would show it visually.
How did I do this? I dug up some of my earliest company images, which were not only in a completely different style, but also showed me younger, with much longer hair and bangs—clearly the same person but from a much earlier time in my business—and then I used the caption to talk about what had changed.
This same idea can be used for all sorts of before/after scenarios: home or office makeovers, weight loss, before and after a haircut, first day and last day of school or a job, a clinical patient before and after treatment, and so many other ideas!
BONUS STEP: If you tag relevant people in the images or mention them below the post (relevant meaning they participated in the transformation, took the photo, etcetera), then you’re likely to boost your immediate engagement, which also means Instagram will show your post to more people!
See the post here.
STRATEGY #3 - GENERATE EXCITEMENT FOR SOMETHING COMING SOON.
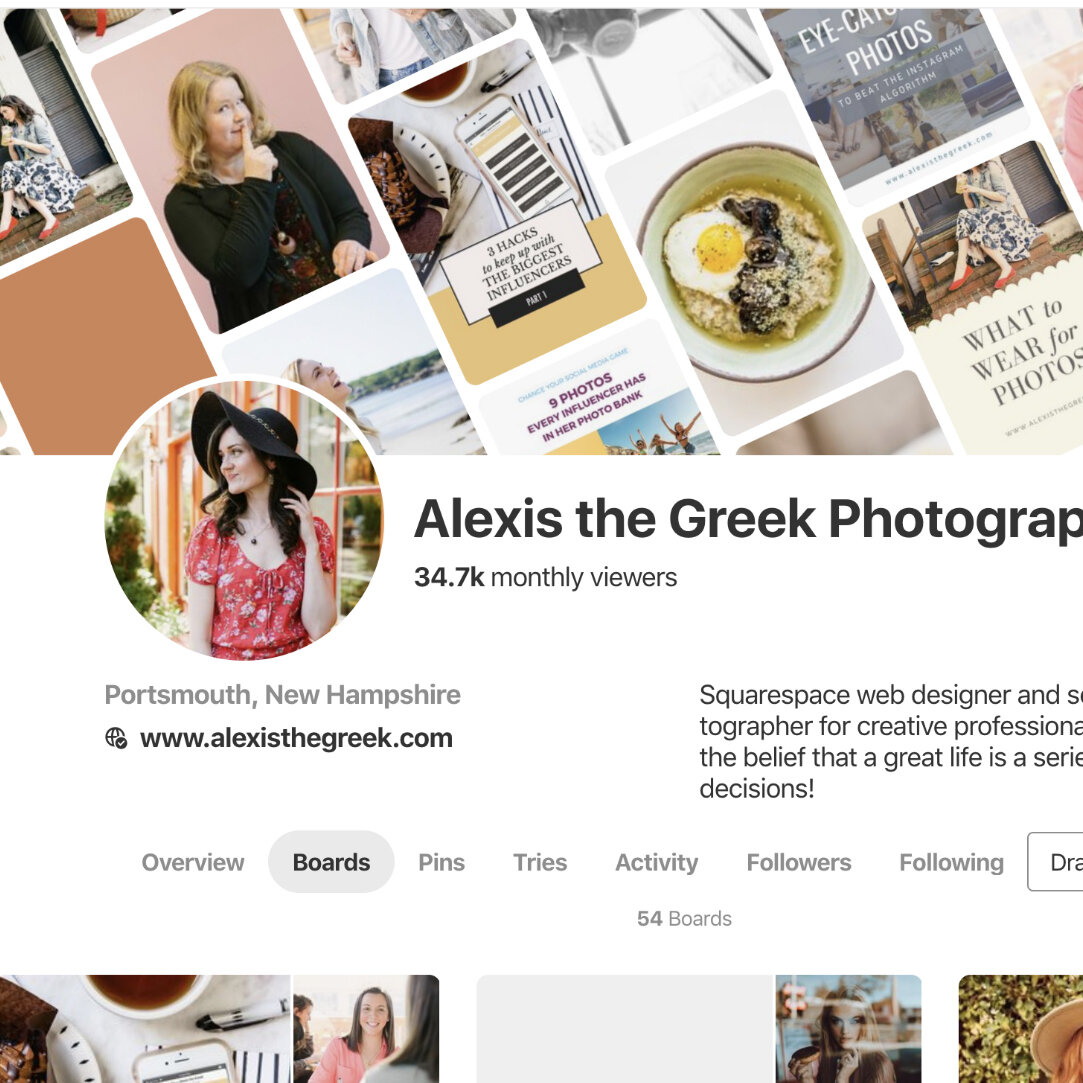
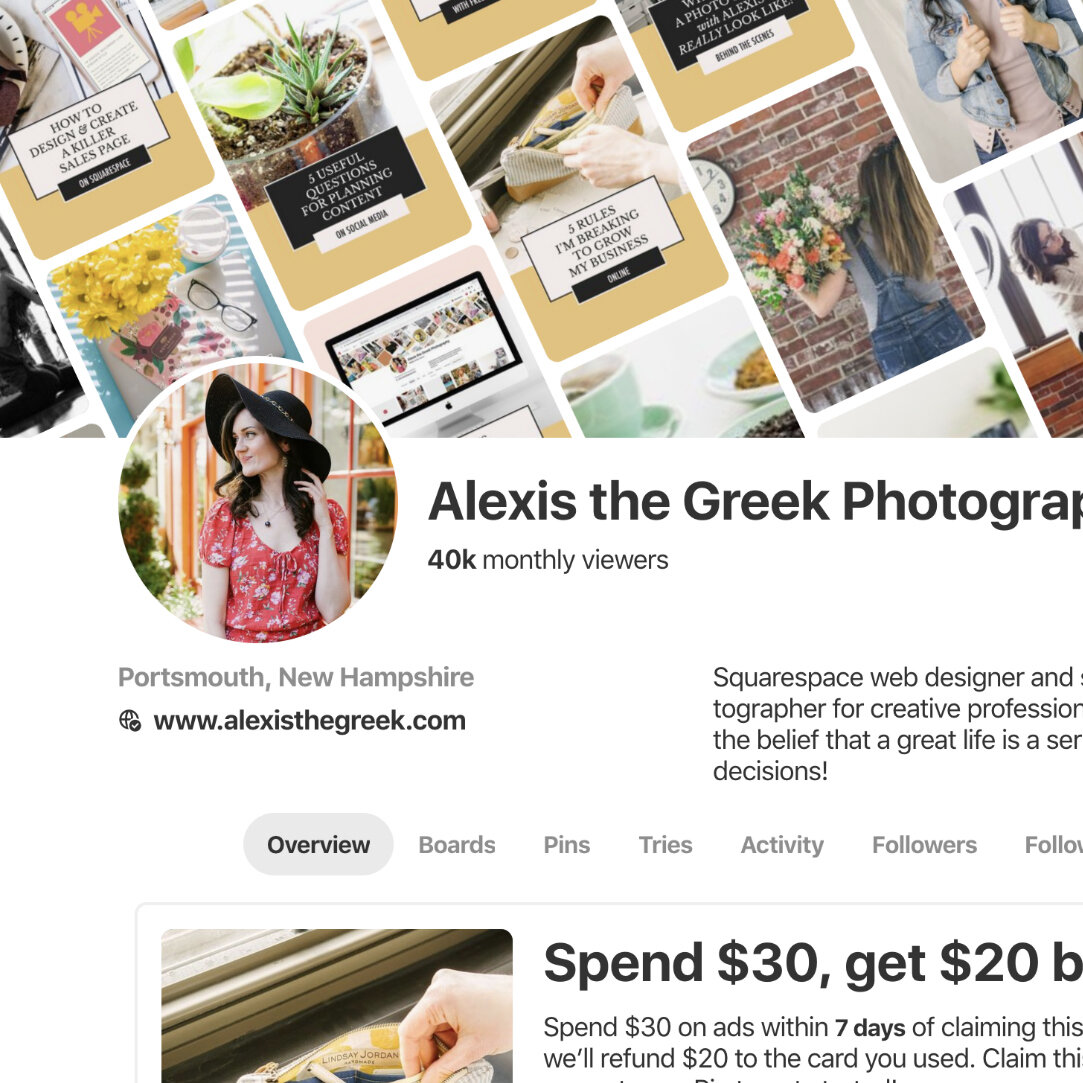
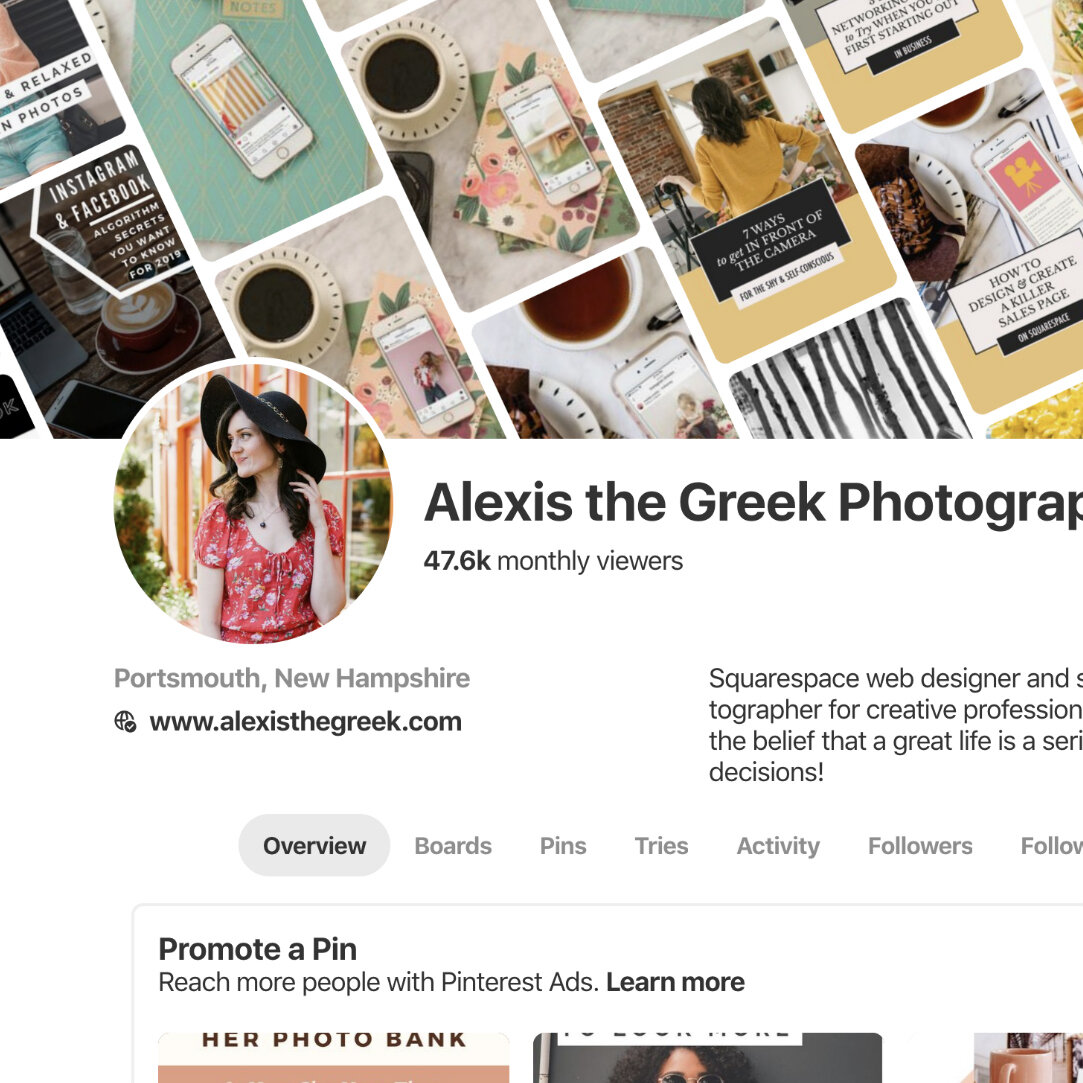

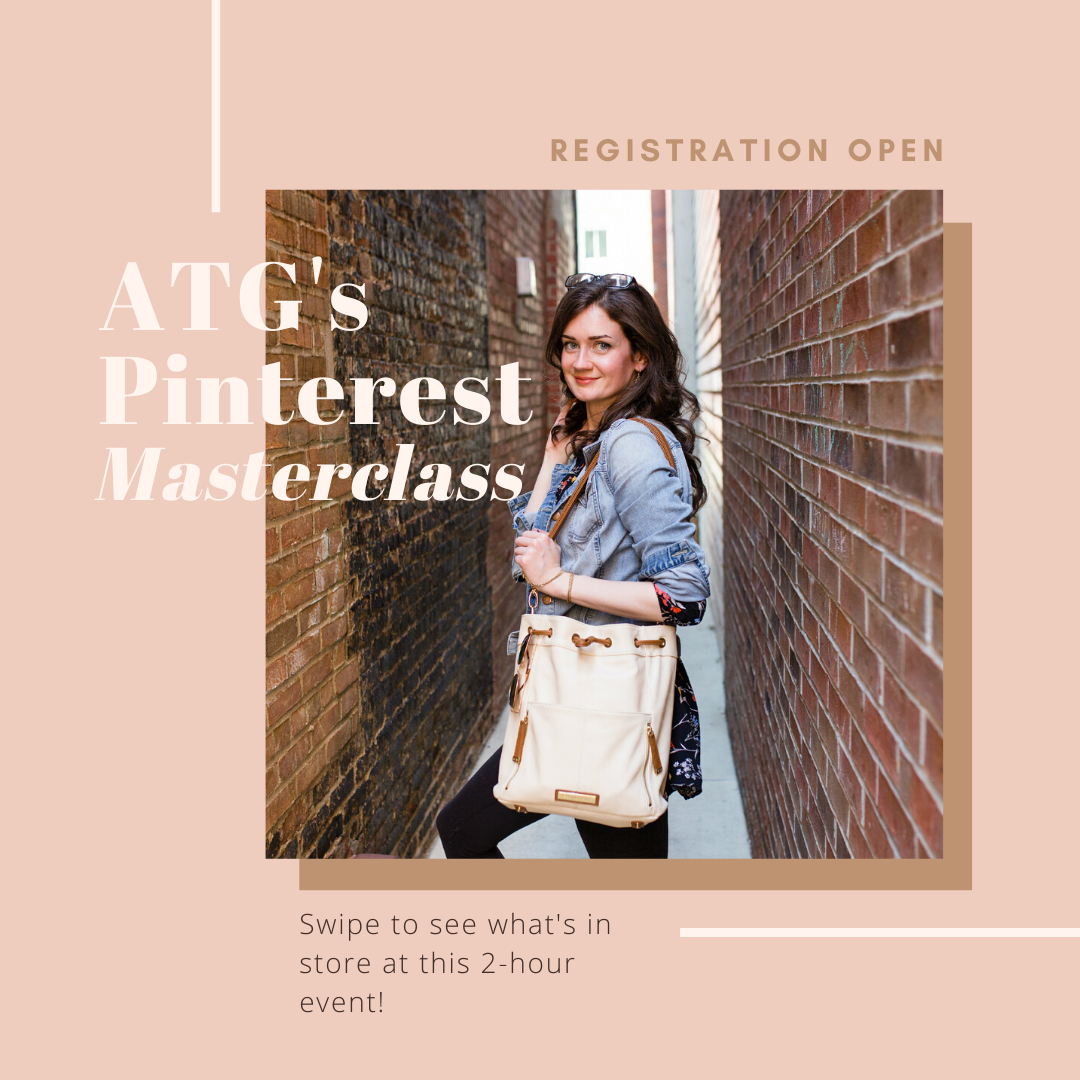
I used this recently to plant the seed about my Pinterest Masterclass opening its doors.
If you look at the sample gallery above, right below the name on my Pinterest profile, you see my monthly reach rapidly climb from around 30K views per month to almost 500K views per month. (By the time the course was ready, I was at 1.2M views per month!) Talking about my journey with Pinterest in my caption built anticipation for the low-cost, 2-hour training I wanted to hype up. And it worked! I did 3 masterclasses over 2 days and I had a full house for every session.
The images were simply screenshots I snapped every time my reach increased over the course of about eight months, which I then cropped to square using Ribbet. I loaded the square images to DropBox, because I have the app to match on my phone, and from there, uploading to Instagram was easy!
See the original post here.
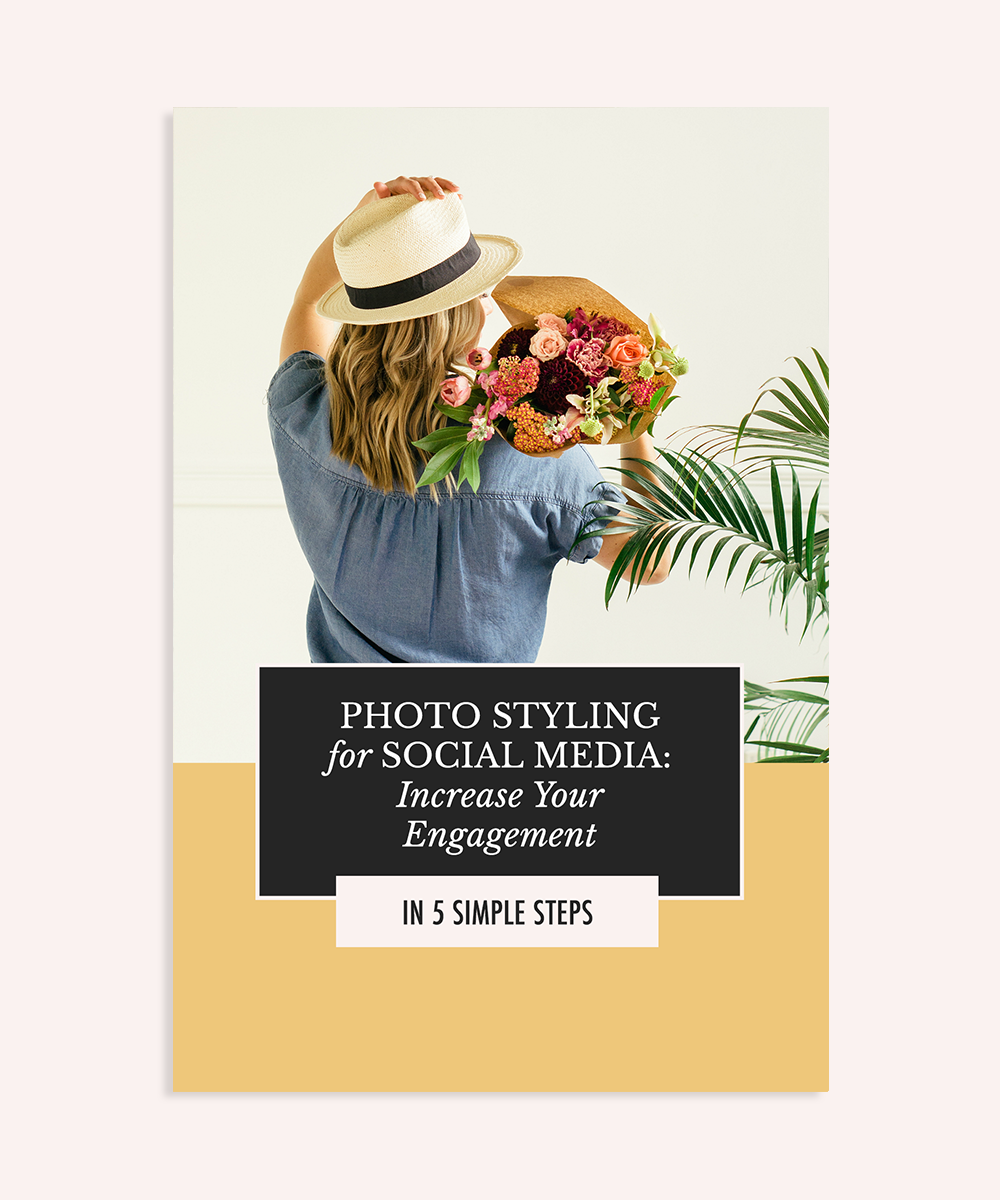
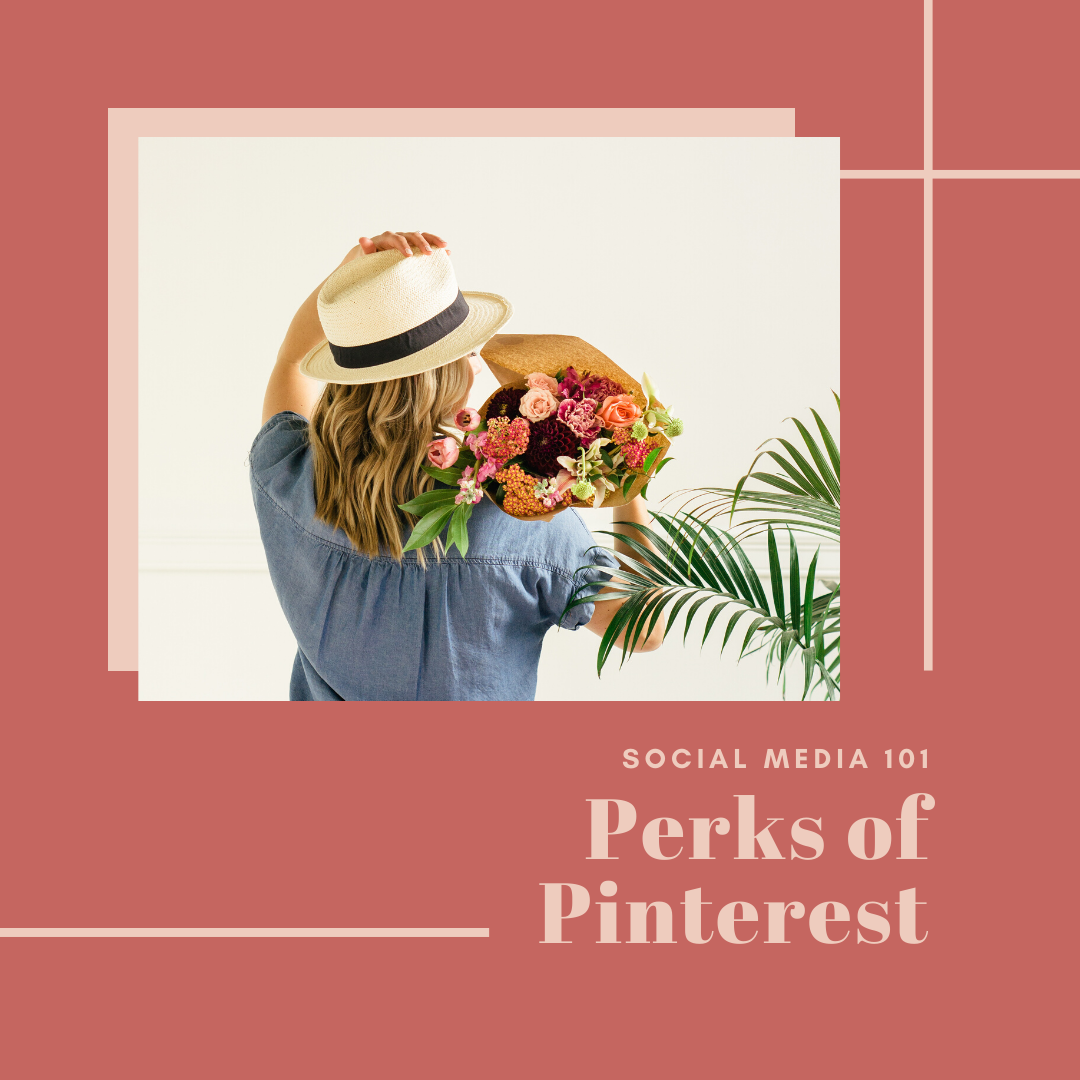
STRATEGY #4: SHARE THE NOT-PICTURE-PERFECT MOMENTS BEHIND THE SCENES.
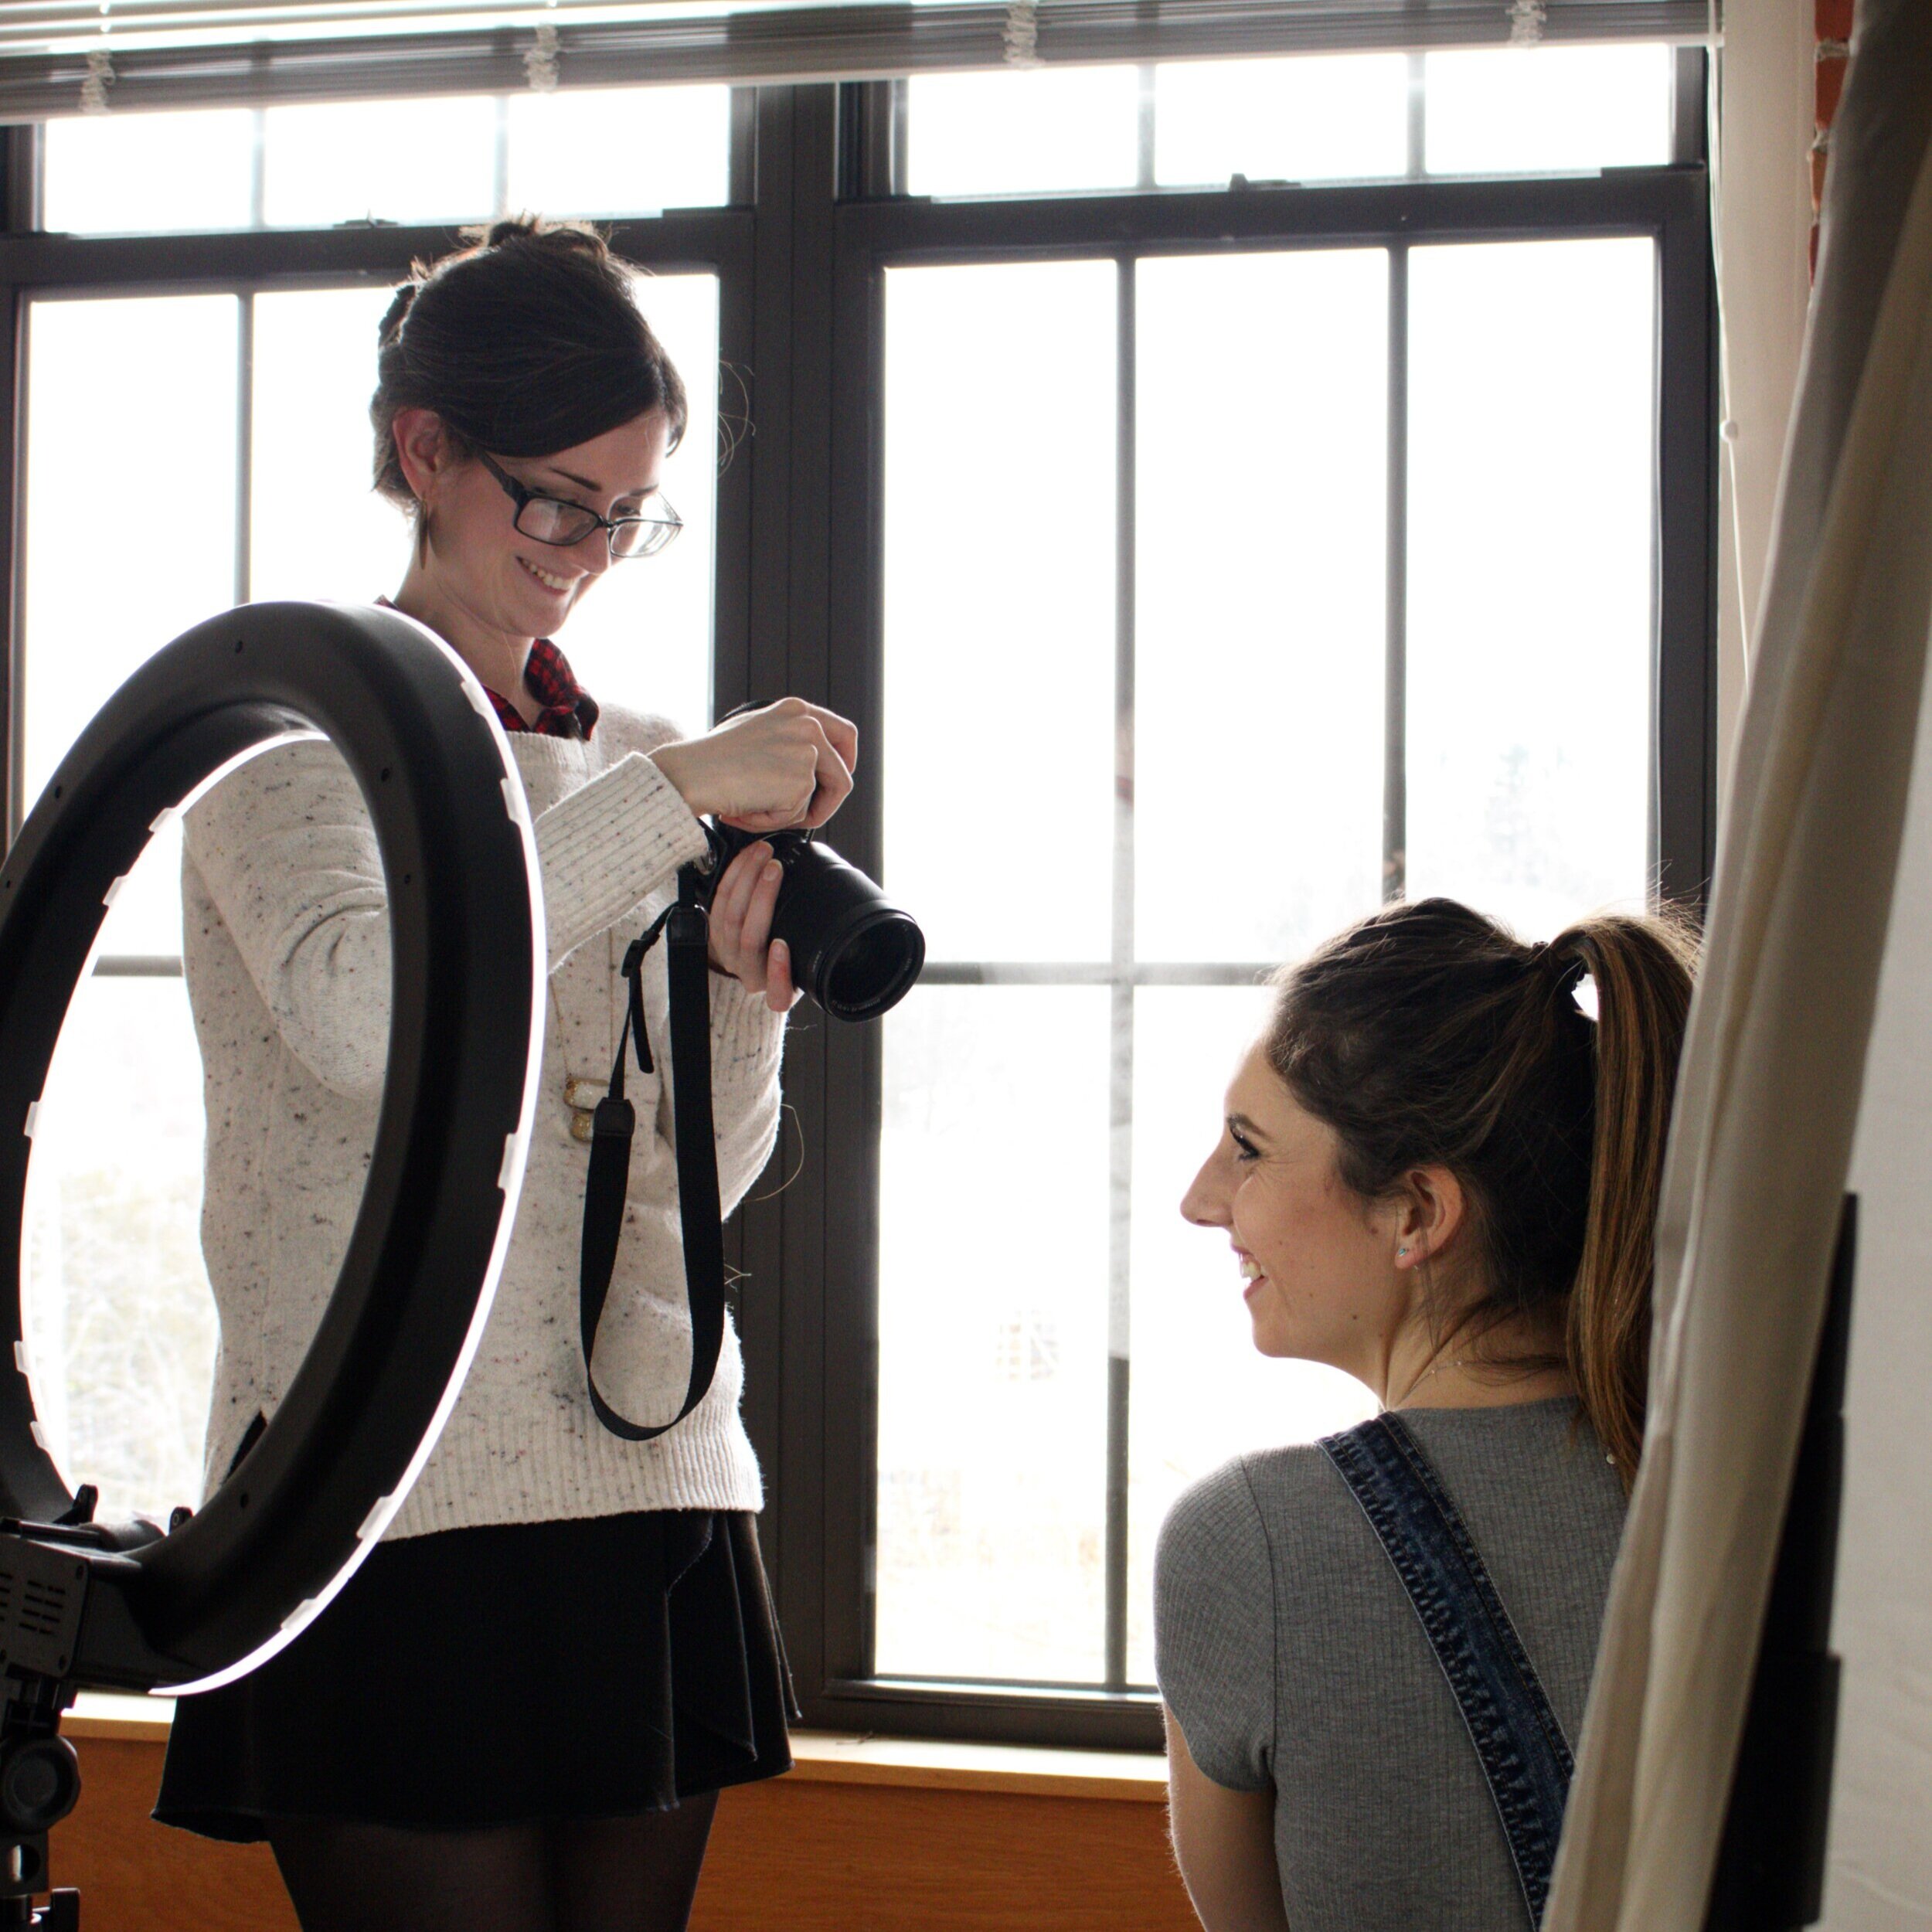
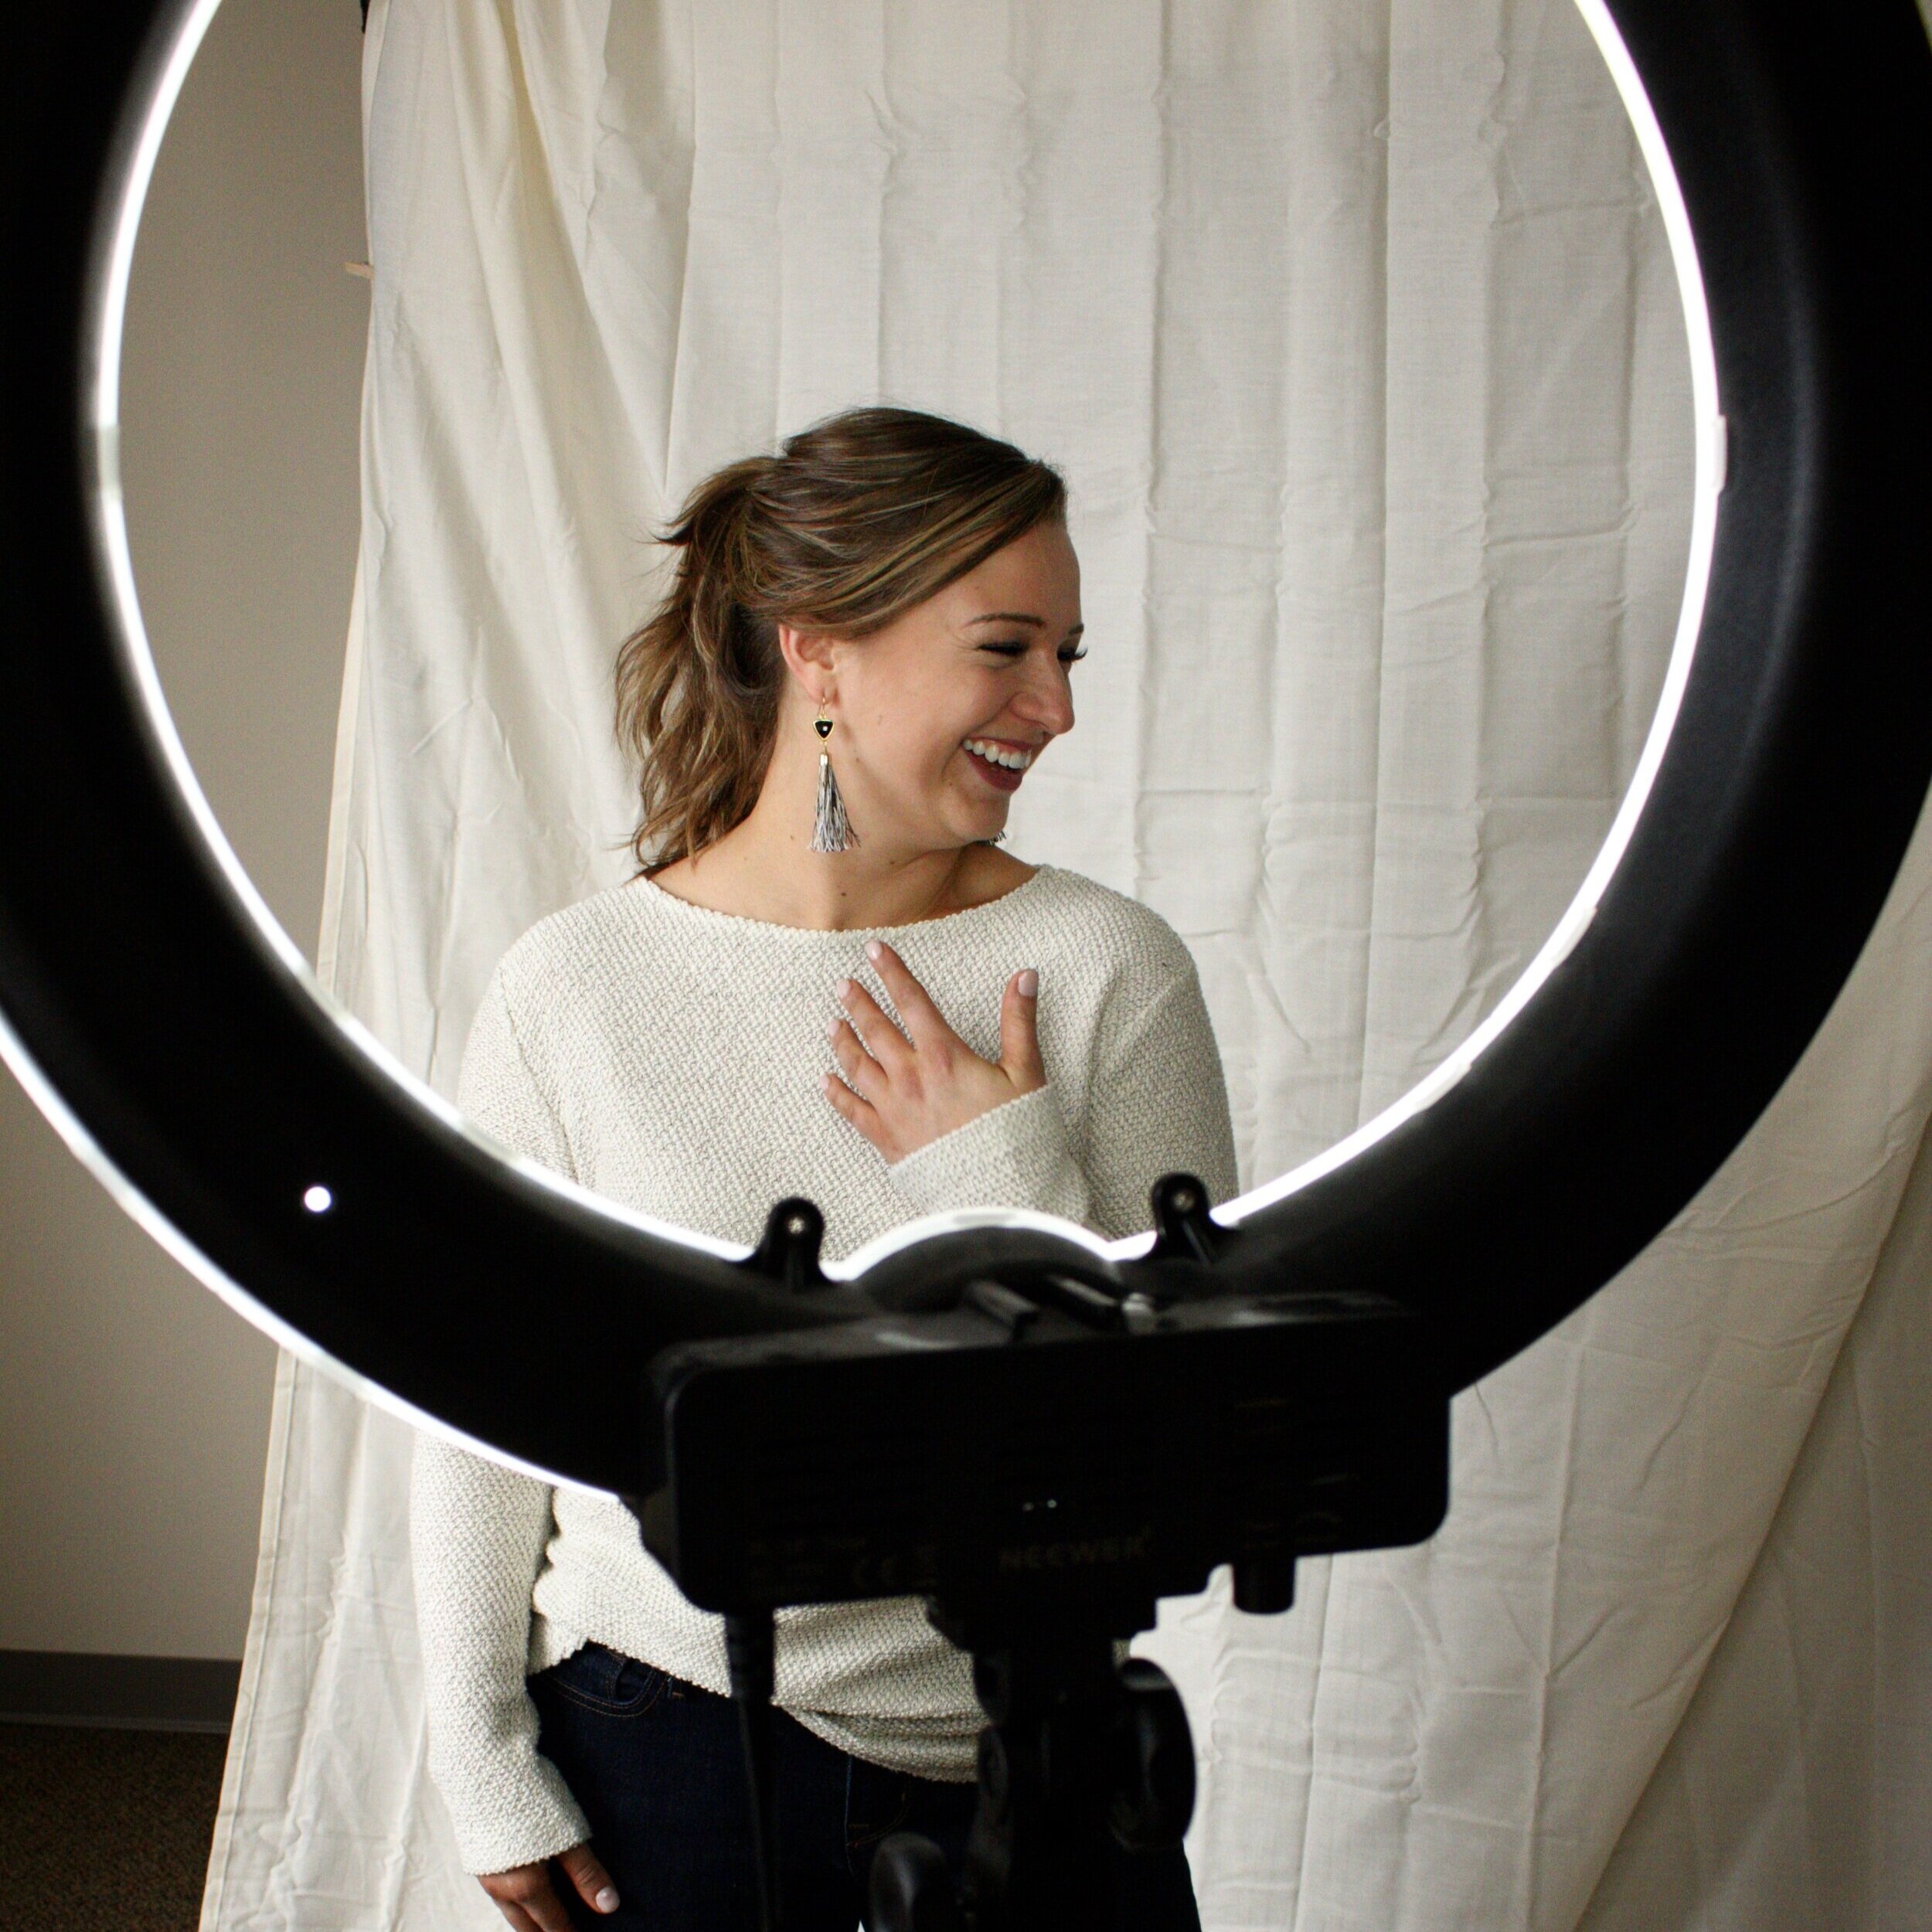
I’ve done this a couple times (check out this post and this one). The idea for me with each of these was to keep the overall aesthetic of my main profile clean, but still share “real moments” for my audience to enjoy once they swipe. In each case, the first image of the gallery was edited and polished, but the photos that followed didn’t have to be.
The first time I tried this, I got the highest level of engagement I had ever seen—more than double the “likes” and over triple the comments on the post right before it. The next time, engagement was up 30% on the preceding post.
I’ve also seen this done successfully here and here by other content creators.
STRATEGY #5: DRAW ATTENTION TO SOMETHING YOUR FOLLOWERS MIGHT BE MISSING.
I recently used this strategy to tell my Instagram followers what kinds of free intel they could expect to get on my blog.
Although I get regular traffic to my blog from both Facebook and Pinterest, Instagram has posed more of a challenge—perhaps because in itself, Instagram is popularly used as a micro-blogging platform. If users can get the experience of a blog right on IG, why tap away to get the experience someplace else?
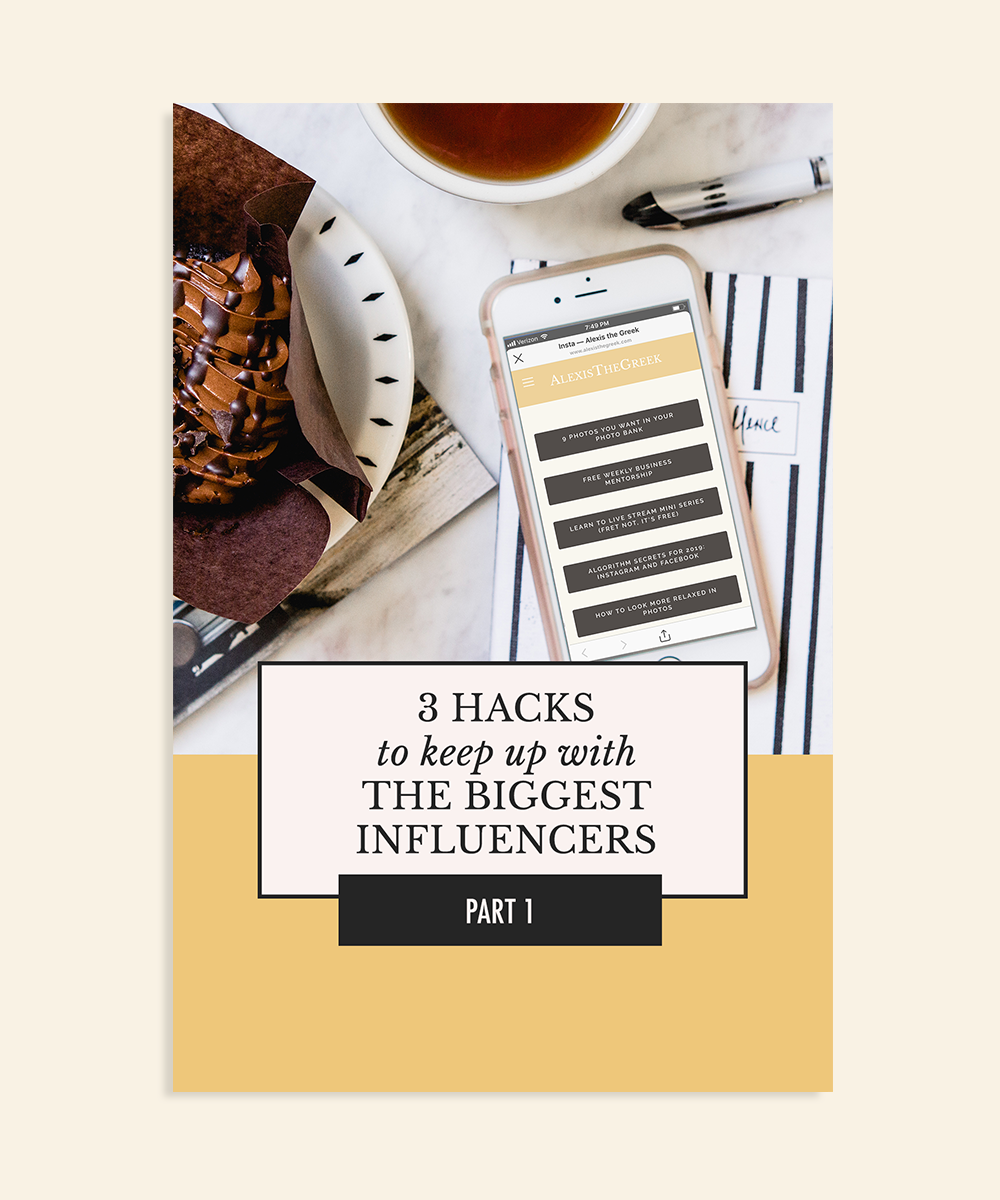
If you’re a regular here at ATG, you know I can go much deeper in a blog post than I can in an Instagram post; so I want my audience to leave the platform. With this goal, I took thumbnails of a handful of my popular blog entries and converted them to Instagram dimensions. That was when I saw traffic to my website from Instagram skyrocket. I not only posted the thumbnails, but also added each entry to my “link in profile” pop-up, making it super easy for my audience to follow through.
See the original post here.
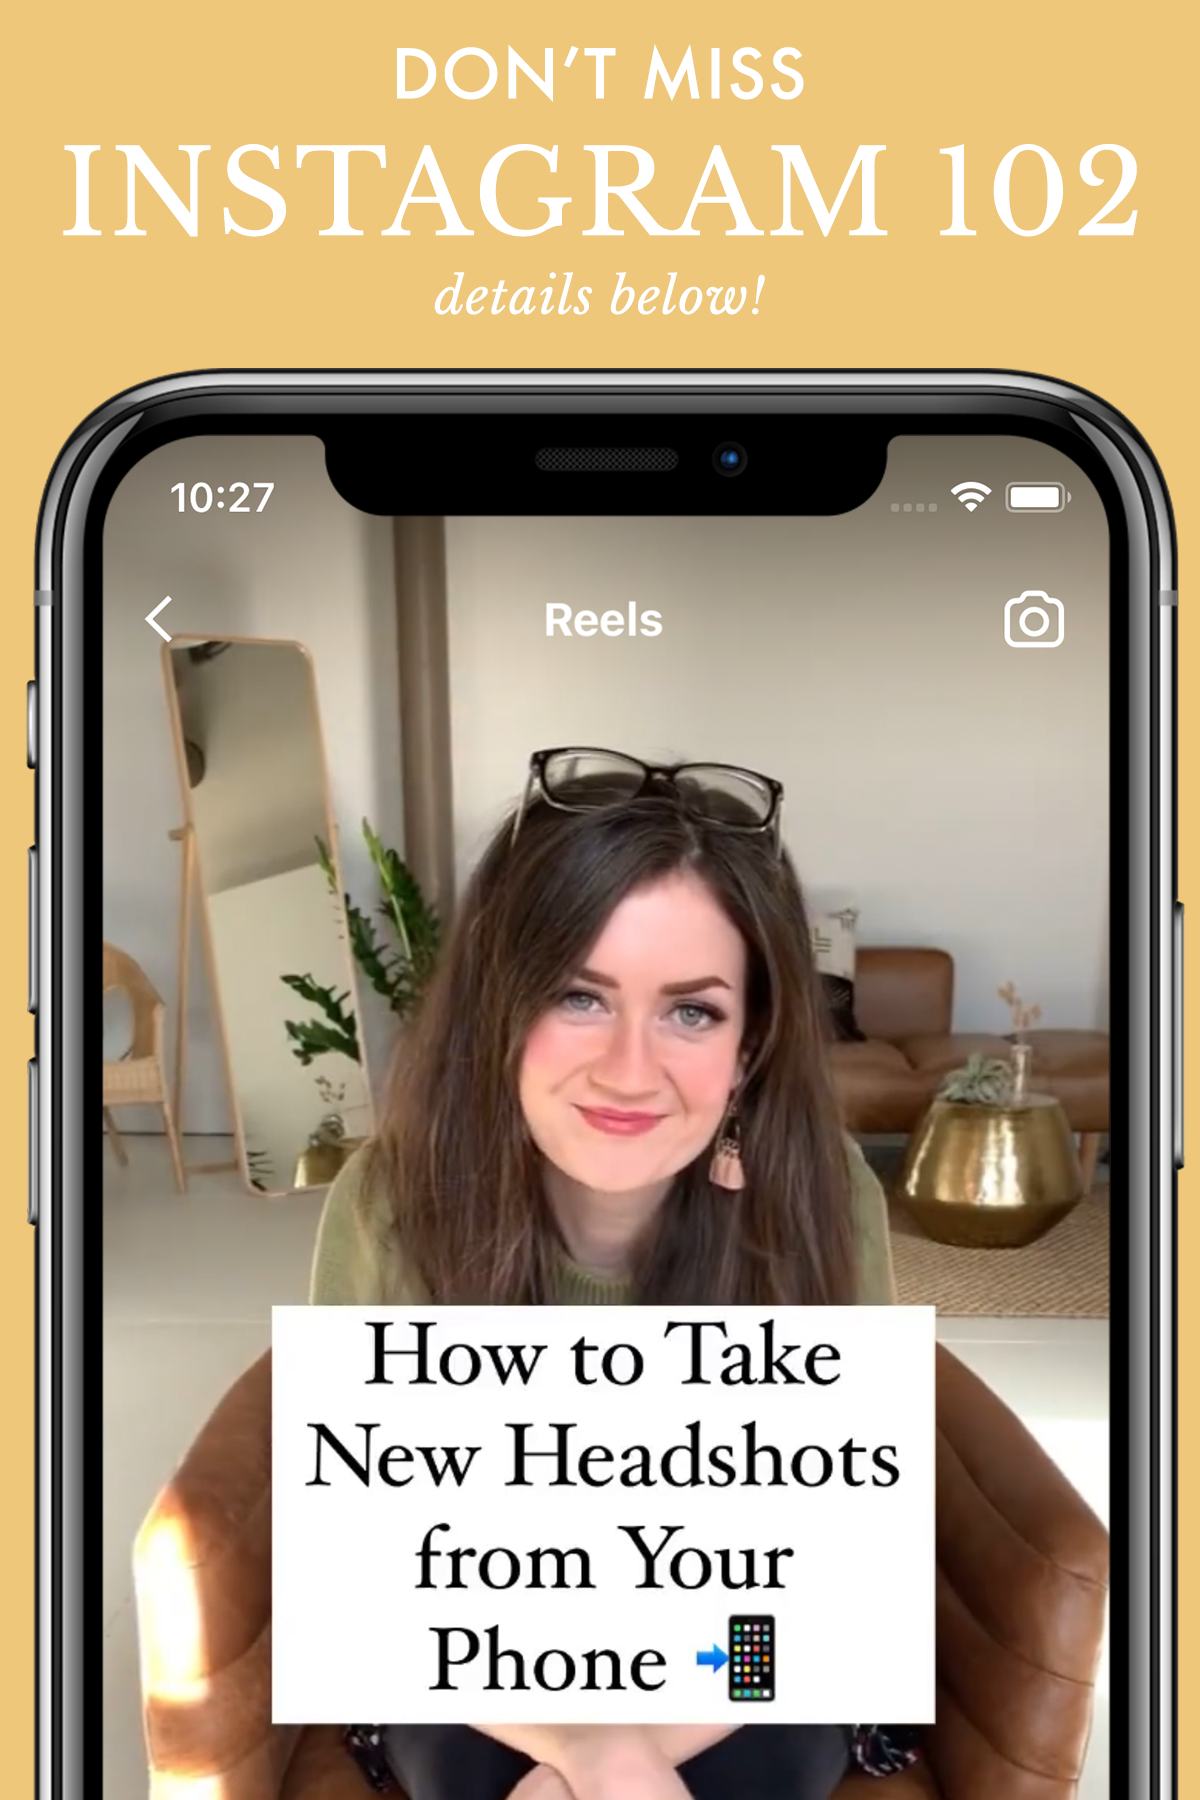
STRATEGY #6: INTEGRATE VIDEO.
EDITED: The above video was recently used to promote my Pinterest Masterclass in conjunction with some other, image-based content!
Video is one of those rarities on Instagram that does really well, so in a way it’s surprising not more people do it.
Then again, video requires a whole different headspace and skill set than photography, so for a platform where photographers thrive, it’s less surprising that video isn’t super common.
All that to say, it’s been on my list for a long time to integrate video into my IG strategy; but I wanted to do it well. Enter Maddie, my new Digital Marketing Manager. She helped me piece together teaser-slash-recap compilations of my weekly mentorship calls.
I still have to experiment here to see if it’s better to put a video first in a gallery, and follow it up with images that complete the story / fill in informational holes, or to lead with an image and show video afterwards (this decision does affect profile aesthetic), but my hunch is that leading with video is better.
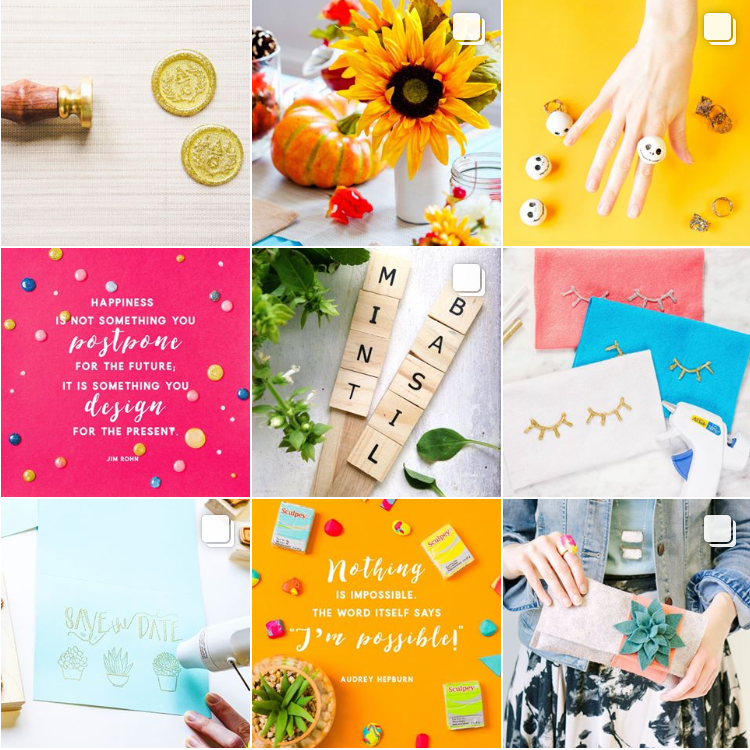
STRATEGY #7: CREATE AN ART PIECE.


It’s hard to see in the above example because the gallery fades instead of swipes, as it would on Instagram, but the lines framing the photos in the first few graphics lead into one another, creating the effect when you swipe on Instagram that they are actually one long composite.
The first time I saw something like this done was on KJP, and shortly thereafter I saw it done in a couple other places I forgot to bookmark (oops!). I have a belief that people spend even more time on galleries when they form a composite because it’s fun not only to swipe through the gallery one way, but backwards as well! These take a bit more work but the sky is the limit in terms of creativity. You can create ongoing images in this style using Canva, Photoshop, A Design Kit, or Unfold.
All right, that’s it from me! How have YOU seen Instagram galleries used well? I’d love to hear! Drop a comment below, with a link if you can—and as always, if you found this post helpful, pin it so you never lose track of it! See you around the ‘gram—

HELLO! MY NAME IS ALEXIS.
Coffee lover, day dreamer, foodie, and creative. I believe in doing what you can with what you have where you are. I blog to help you do more with what you have. I hope you love it here!