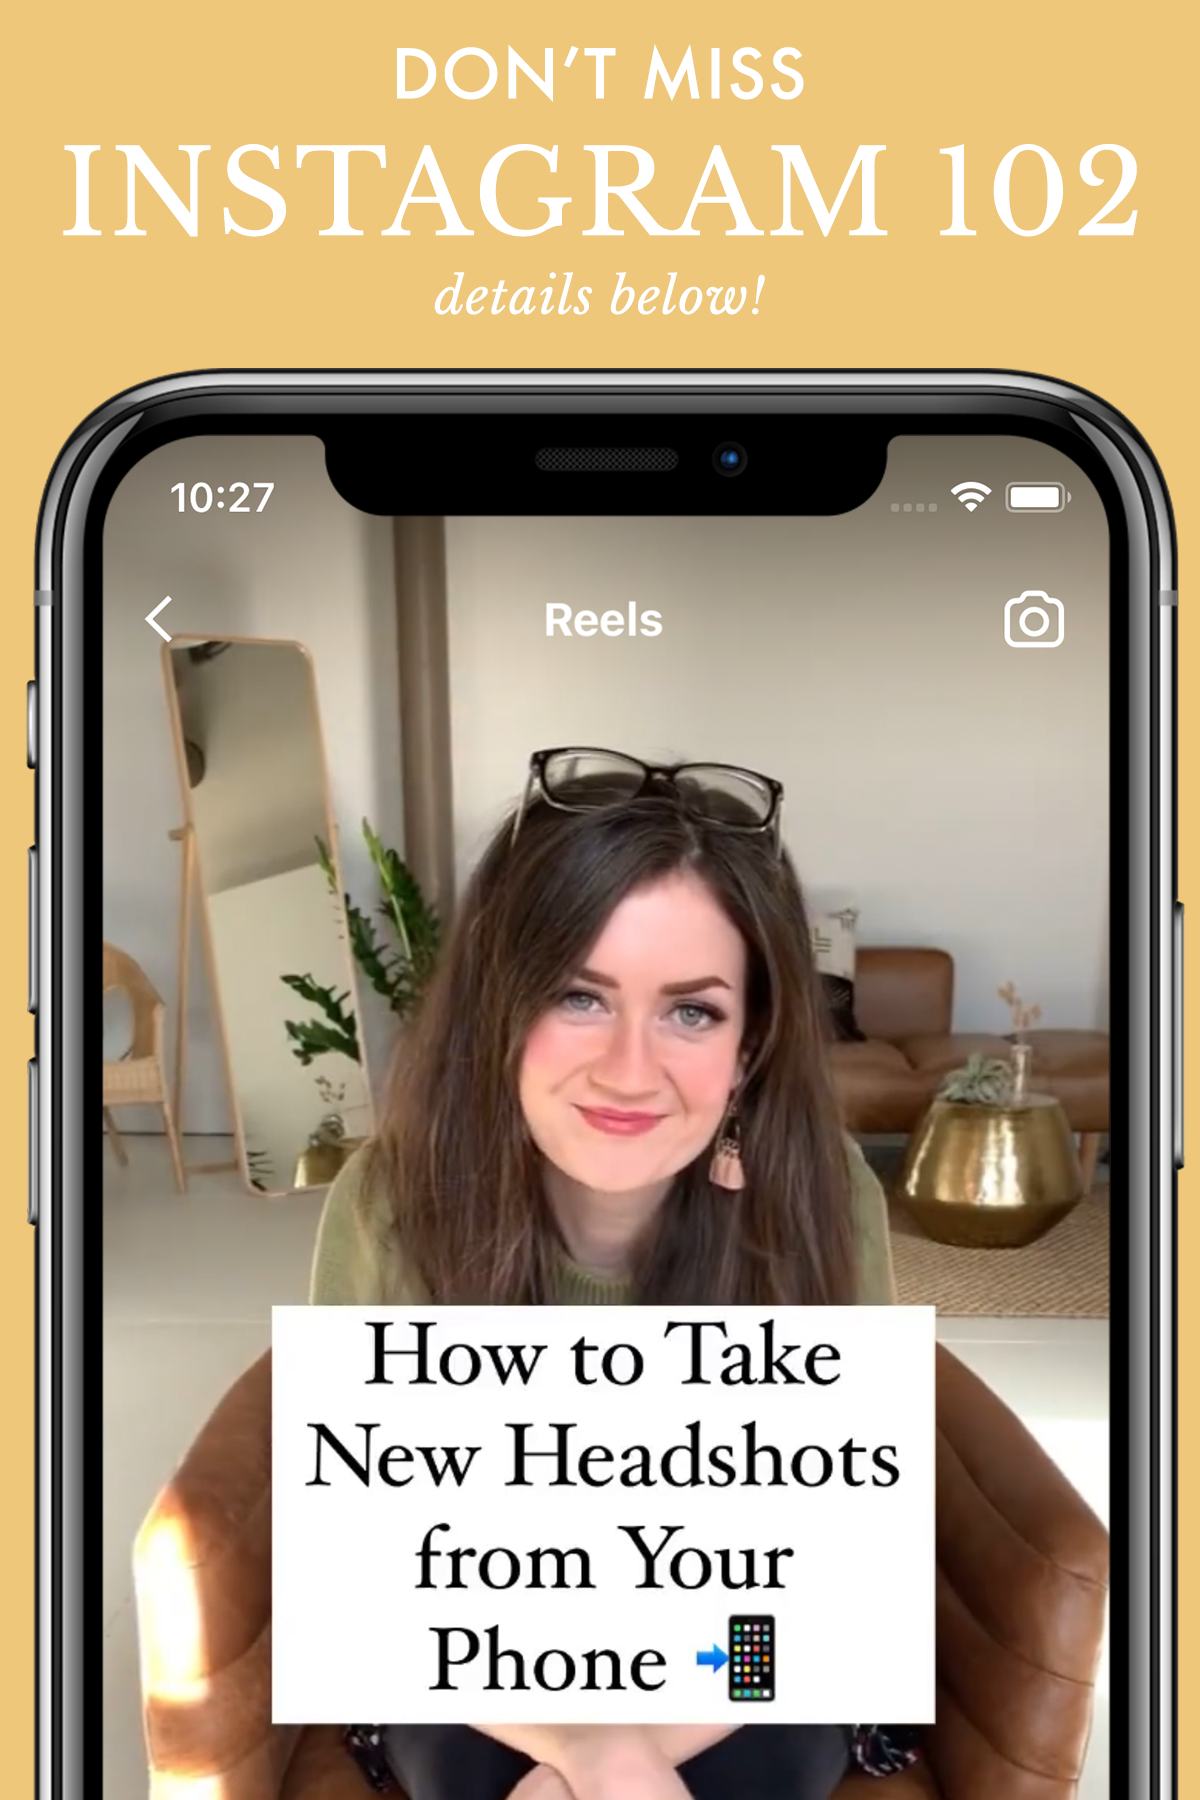
3 Easy Video Ideas for Instagram Reels and TikTok
Does it feel like you've "aged out" of success on social media, all because of Reels and TikTok? Put those thoughts away. Today, I got you.
Before I dive into three video ideas you can use on repeat that will be fun and easy for you to DIY—even if you don’t want to appear on camera, have no technical talent, and don’t consider yourself to be a creative genius—let’s address an underlying limiting belief that you may have that could be holding you back from generating awesome, binge-able content:
“I’m going to have to make a fool of myself if I create Instagram Reels or TikTok videos.”
If deep down this is something you believe, I totally get where you’re coming from. After all, the tipping points for these two video-sharing options came with a lot of dancing and embarrassing trends that only kids would ever try… but.
Like all media, just because a new creative platform starts out as one thing doesn’t mean that’s all it has the potential to be.
Instagram Reels today are so very, very different from what they were in 2020, and the range of what’s out there and getting attention is vast. You can create content for your brand that is totally unique—no dancing required—the only catch is, you just have to figure out what’s right for you.
That could take a little trial and error, to be sure, but if you’re nervous to try video for yourself, I’m going to give you three totally low-barrier ways to start that process so that you could start reaping the benefits that a lot of your competitors are already seeing because they’ve embraced video.
Are you ready?
Idea No. 1: Video Vignettes
This one is by far the easiest of the three. All you need for this is a vignette and a working camera on your phone.
A vignette is a simple scene. If you have a coffee shop, a vignette might include a table topped with a pretty pastry, a book, and a pretty cup of coffee, all set up perfectly by a rainy window. If you sell jewelry, it might be a collection of pieces displayed on a jewelry stand, catching the morning light.
Basically, instead of photographing this picture-perfect moment, you video it, and then set it to trending or mood-evoking audio. If you like, you can overlay a bit of text, like the day and time, or the location. Here are some examples:
The trick with this one is making sure the video quality is good. Part of that is learning about your phone’s specific camera settings, but the other part is uploading to the platforms in the size and fps (frames per second) that the platform prefers. On Instagram, you generally want your Reels videos to be 1080x1920, and your fps to be 30.
Idea No. 2: photos and templates
In an effort to keep users on the app, Instagram has started developing templates, which allow users to upload and edit content right on Instagram instead of having to do the work on another app like InShot.
With templates, you simply upload the photos (or video) you want to use, and drop them into a template that is already synced to Instagram-approved audio. This is an incredible feature, because it cuts the time you spend on content creation to potentially less than half.
How do you find templates on Instagram? Spend some time on the Reels tab and keep an eye out for videos that are actually just photos set to music. Right next to the creator’s name, look for the link entitled “Use Template.” As of this writing, it looks like this:
What I do if I’m not quite ready to use the template yet—as in, I like the template but I don’t yet have the perfect photos for it on my phone—is I save the video with the “Use Template” link to a folder called “Templates.” Then when I’m ready to use the template, I select the video, then “Use Template.” From here, just follow the prompts!
Here are some examples (must be logged into the app to see the “Use Template” link and to save for later):
Although I think templates are a great idea, I’ve yet to see them really “take off,” mostly, I think, because the current design requires you to make the content right now unless you think to save the Reel that has a template you want to try later. Make sure you don’t forget this step!
Idea No. 3: Timelapse
Timelapses are awesomely simple to set up, and you can probably create them using your phone’s existing camera settings. (Even if your camera doesn’t already have a timelapse feature, you should be able to search up a free app that does.)
The premise here is simply to set your camera somewhere to film a process that usually takes a lot of time, such as decorating a cake, painting a room, or laminating dough and rolling it into croissants. Then you show that activity to your audience on hyperspeed.
I’ve done this in my Stories periodically, filming myself setting up photo shoots. People who maybe have never had a styled shoot before get to see how much equipment I haul in, what it looks like to set up a paper backdrop stand, when I need two sets of hands to move props in and out, and so on.
Timelapses work best when there’s a before-and-after experience that the viewer gets to see unfold. For example, if you timelapse painting a room or putting up wallpaper, then your audience should get to see the before—no fresh paint/wallpaper—and the after, which should be a finished room. It’s no fun to come in halfway through a project or miss out on the end of a project!
If you really feel like going the distance, you can record just a few seconds of each step of a long process, and piece them together like this instead:
Still need help?
Follow me on Instagram! That’s usually the first place I share relevant and current tips for making the most of your brand photography and video in your social media strategy. You don’t want to miss out! Plus (pro tip) I have a whole tab of guides you can check out for fast access to posts that are all on the same topic.
What are you waiting for? Hit that follow button now!
HELLO! MY NAME IS ALEXIS.
Coffee lover, day dreamer, foodie, and creative. I believe in doing what you can with what you have where you are. I blog to help you do more with what you have. I hope you love it here!


